Goal
Rebecca, Abhinav and I wanted to build a foldable kayak that could be strapped to a bike and cycled to Walden Pond. Actually, 3 foldable kayaks, one for each of us.
Requirements
- Can be disassembled/folded.
- Simple, foolproof design.
- Cheap.
Choosing a design
The internet has many designs for coroplast kayaks. The main ones we considered were:
- Paul Elkins’ one sheet kayak
- Paul Elkins’ coro-kayak v2
- Eerik Mee’s DIY Oru Kayak
- DIY USA’s many versions
- Beavers NATION’s kayak
Some notes about each:
DIY USA has made like 24 iterations of his kayak so that is confidence inspiring. But the designs seem quite complex - they require many folds and joining different pieces of coroplast together.
Beavers NATION’s looks not bad but TheJoshAndMelissa tried to build it following his plans and the boat sank.
Eerik Mee’s looks great, and very sea worthy. Plus, he seems to be a boat builder as his day job so that’s a plus for his designs. But a couple of issues: his plans are not readily available online and it did look a little complicated and required gluing two sheets together, which Rebecca was very against.
Ultimately we decided to go with Paul’s version 1 design. His designs were the simplest, especially v1 that did not have the additional wooden frame. In both of his designs, the main body of the boat is made out of a single sheet of 4’ x 8’ 4mm thick coroplast (the seat requires a bit more coroplast). This is great because there is much less opportunity for us to introduce leaks into the boat, and also it make the boat much cheaper.
We considered a bunch of different closure methods (Paul Elkins uses zip ties, Oru Kayaks use plastic clips/buckles), we also thought about velcro and string. Ultimately we decided to go with cable ties and stick as closely as possible to Paul’s design for the first boat.
Build process
I bought the plans on his website for $10 and after a quick look through them, and printing out some paper plans to test fold, we took the red line to Home Depot.
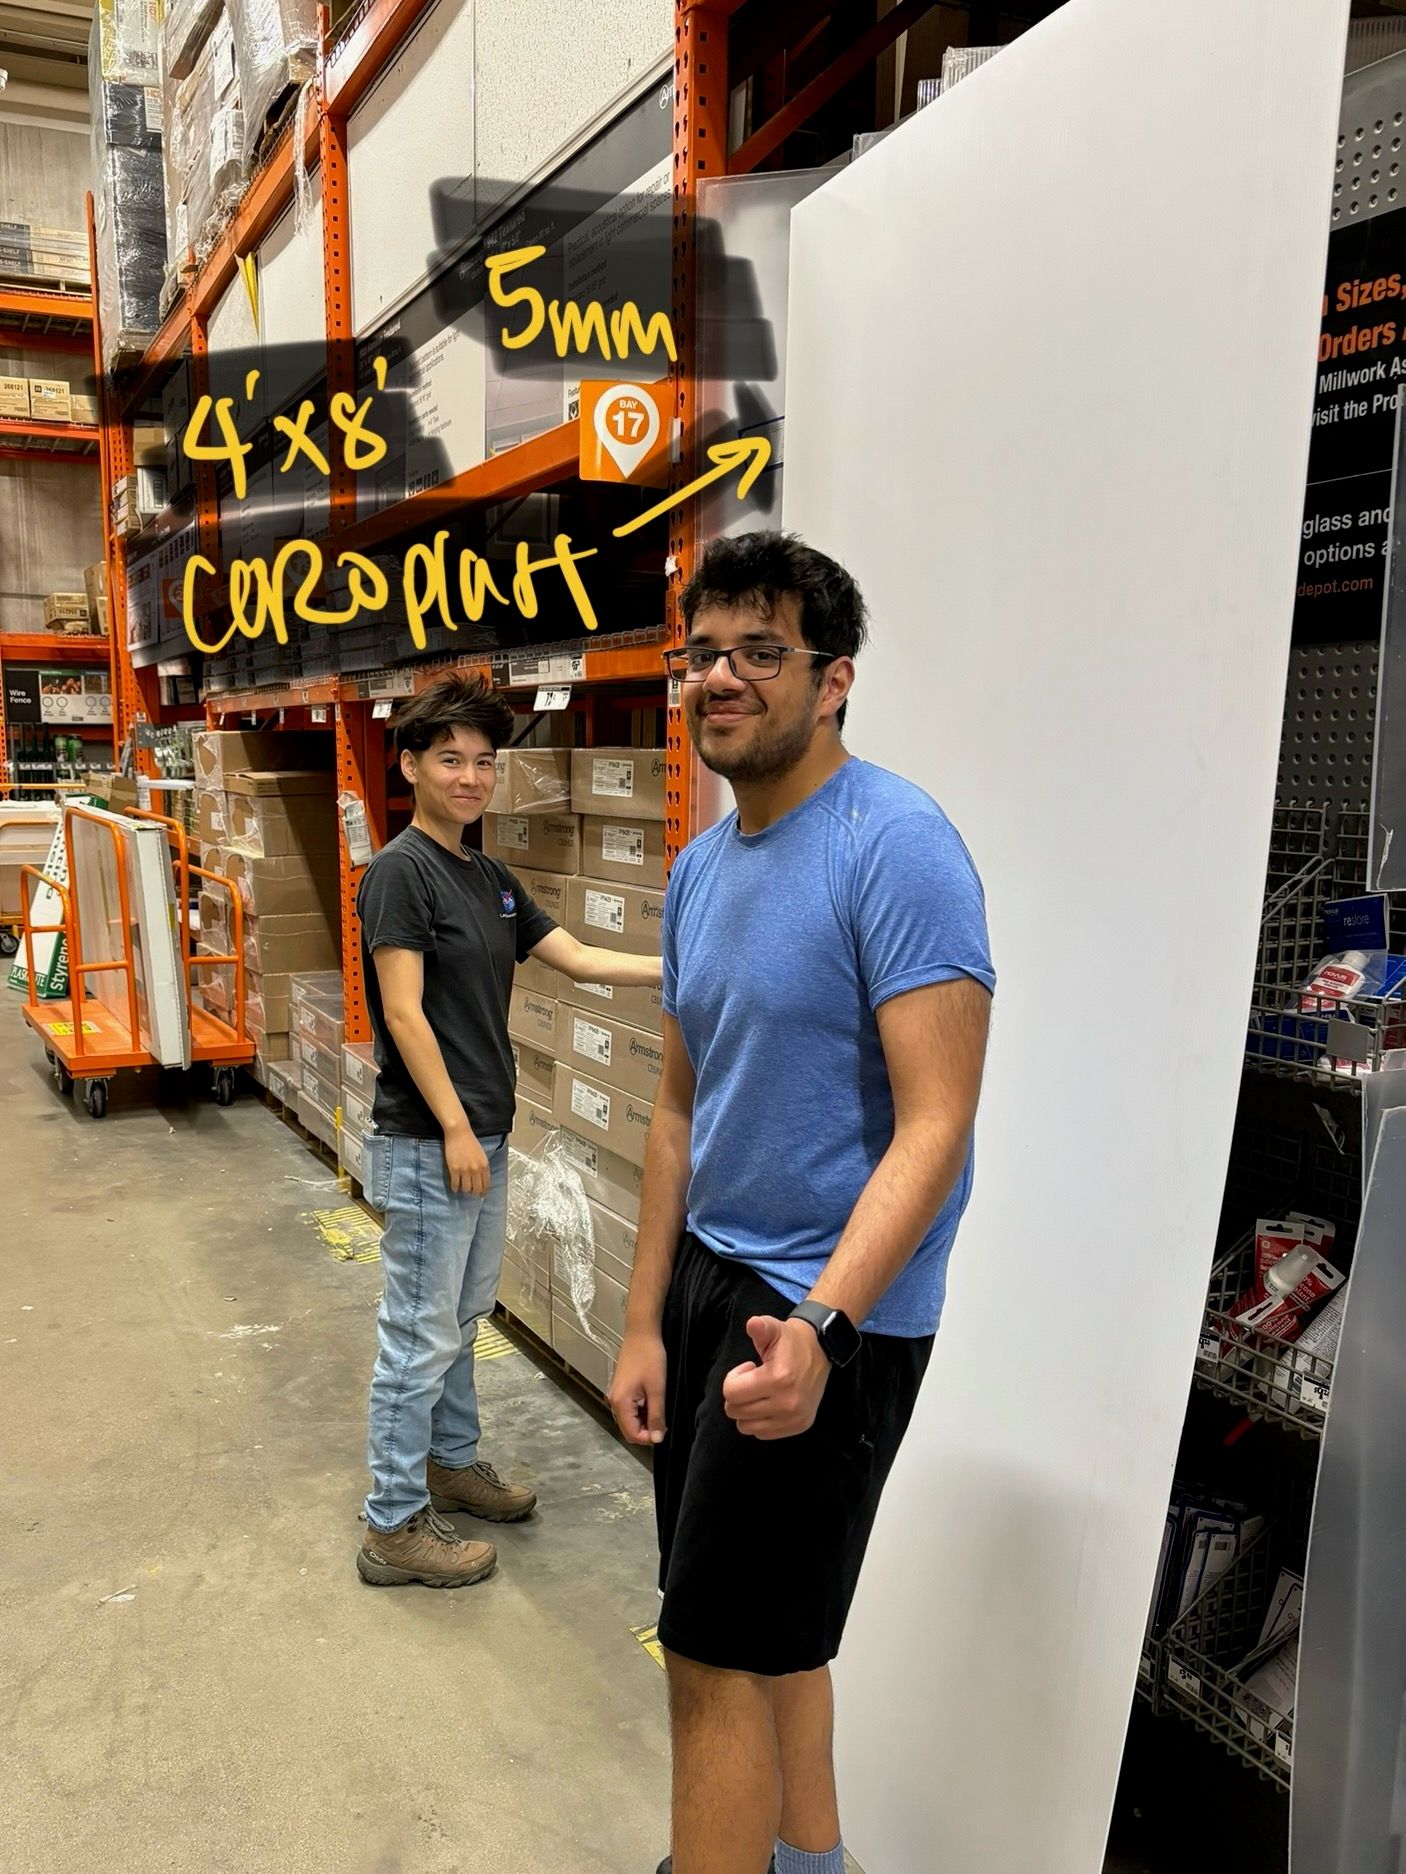
We bought 4 sheets (1 sheet per boat and 1 for the 3 seats), which cost about $150 (after tax). We also bought 3 kids pool noodles from the Target next door for $1 each to serve as arm rests for the sides of the boat.
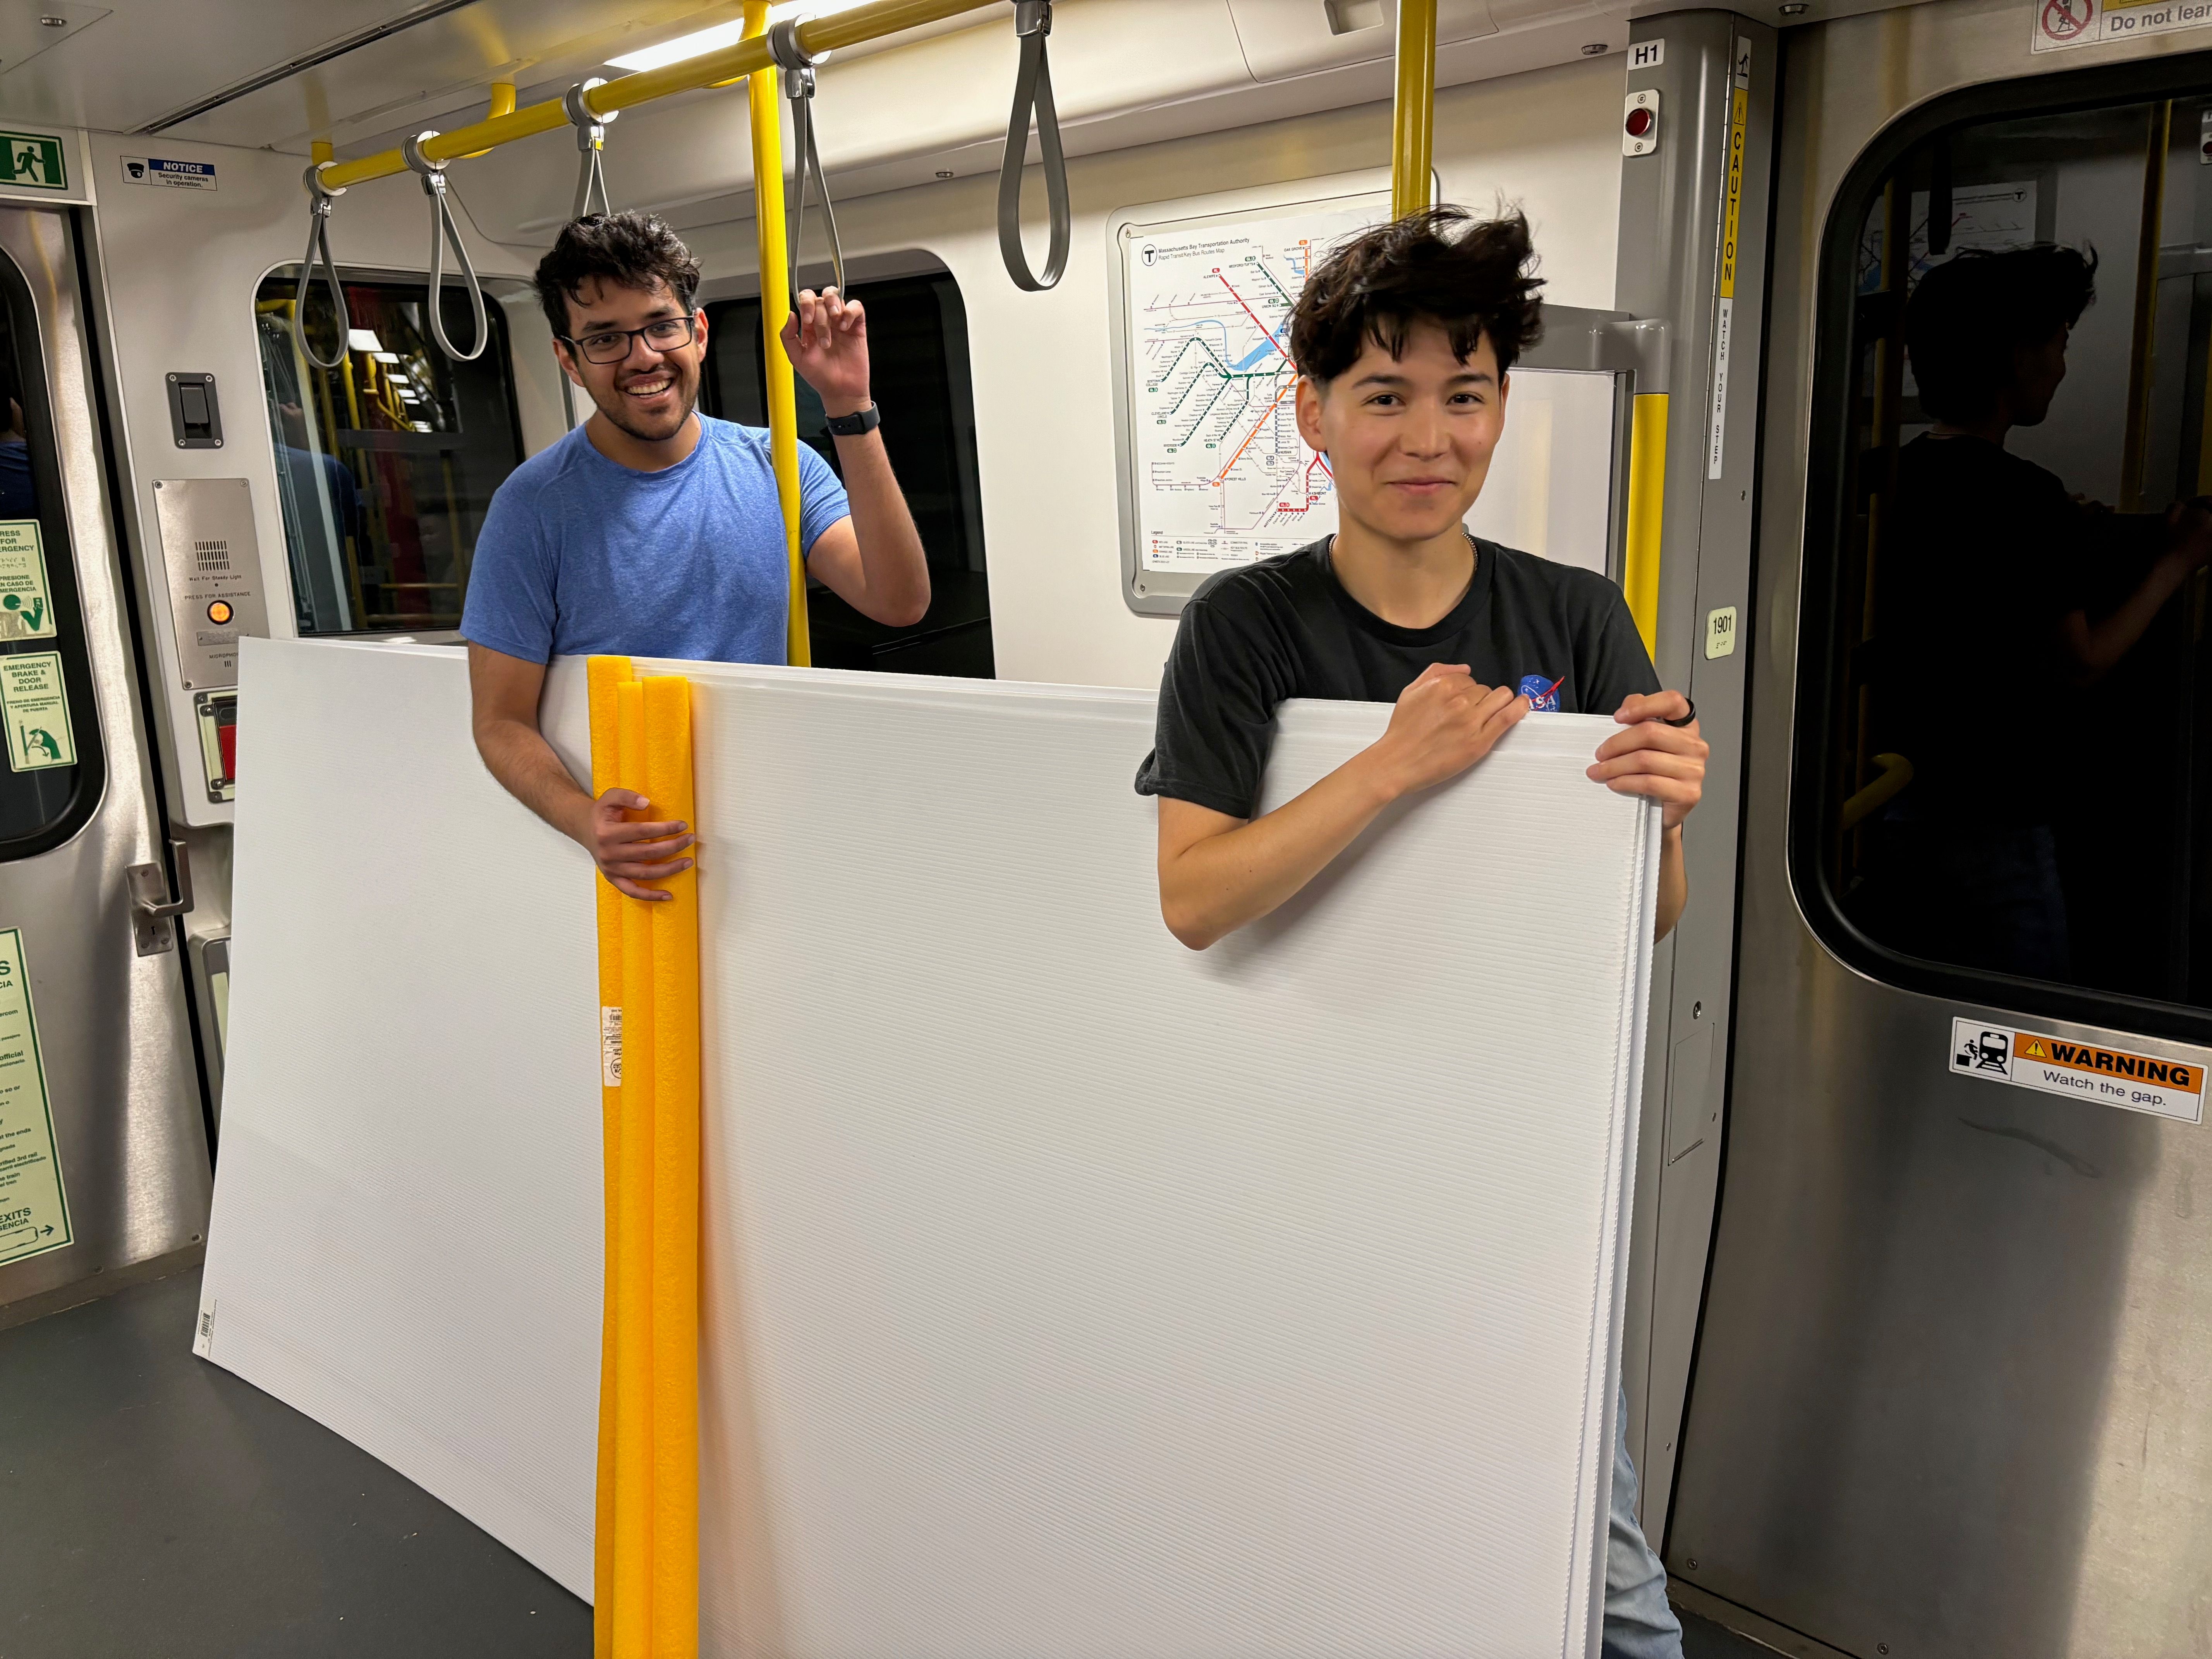
Taking the T back to MIT with coroplast and pool noodles in hand.
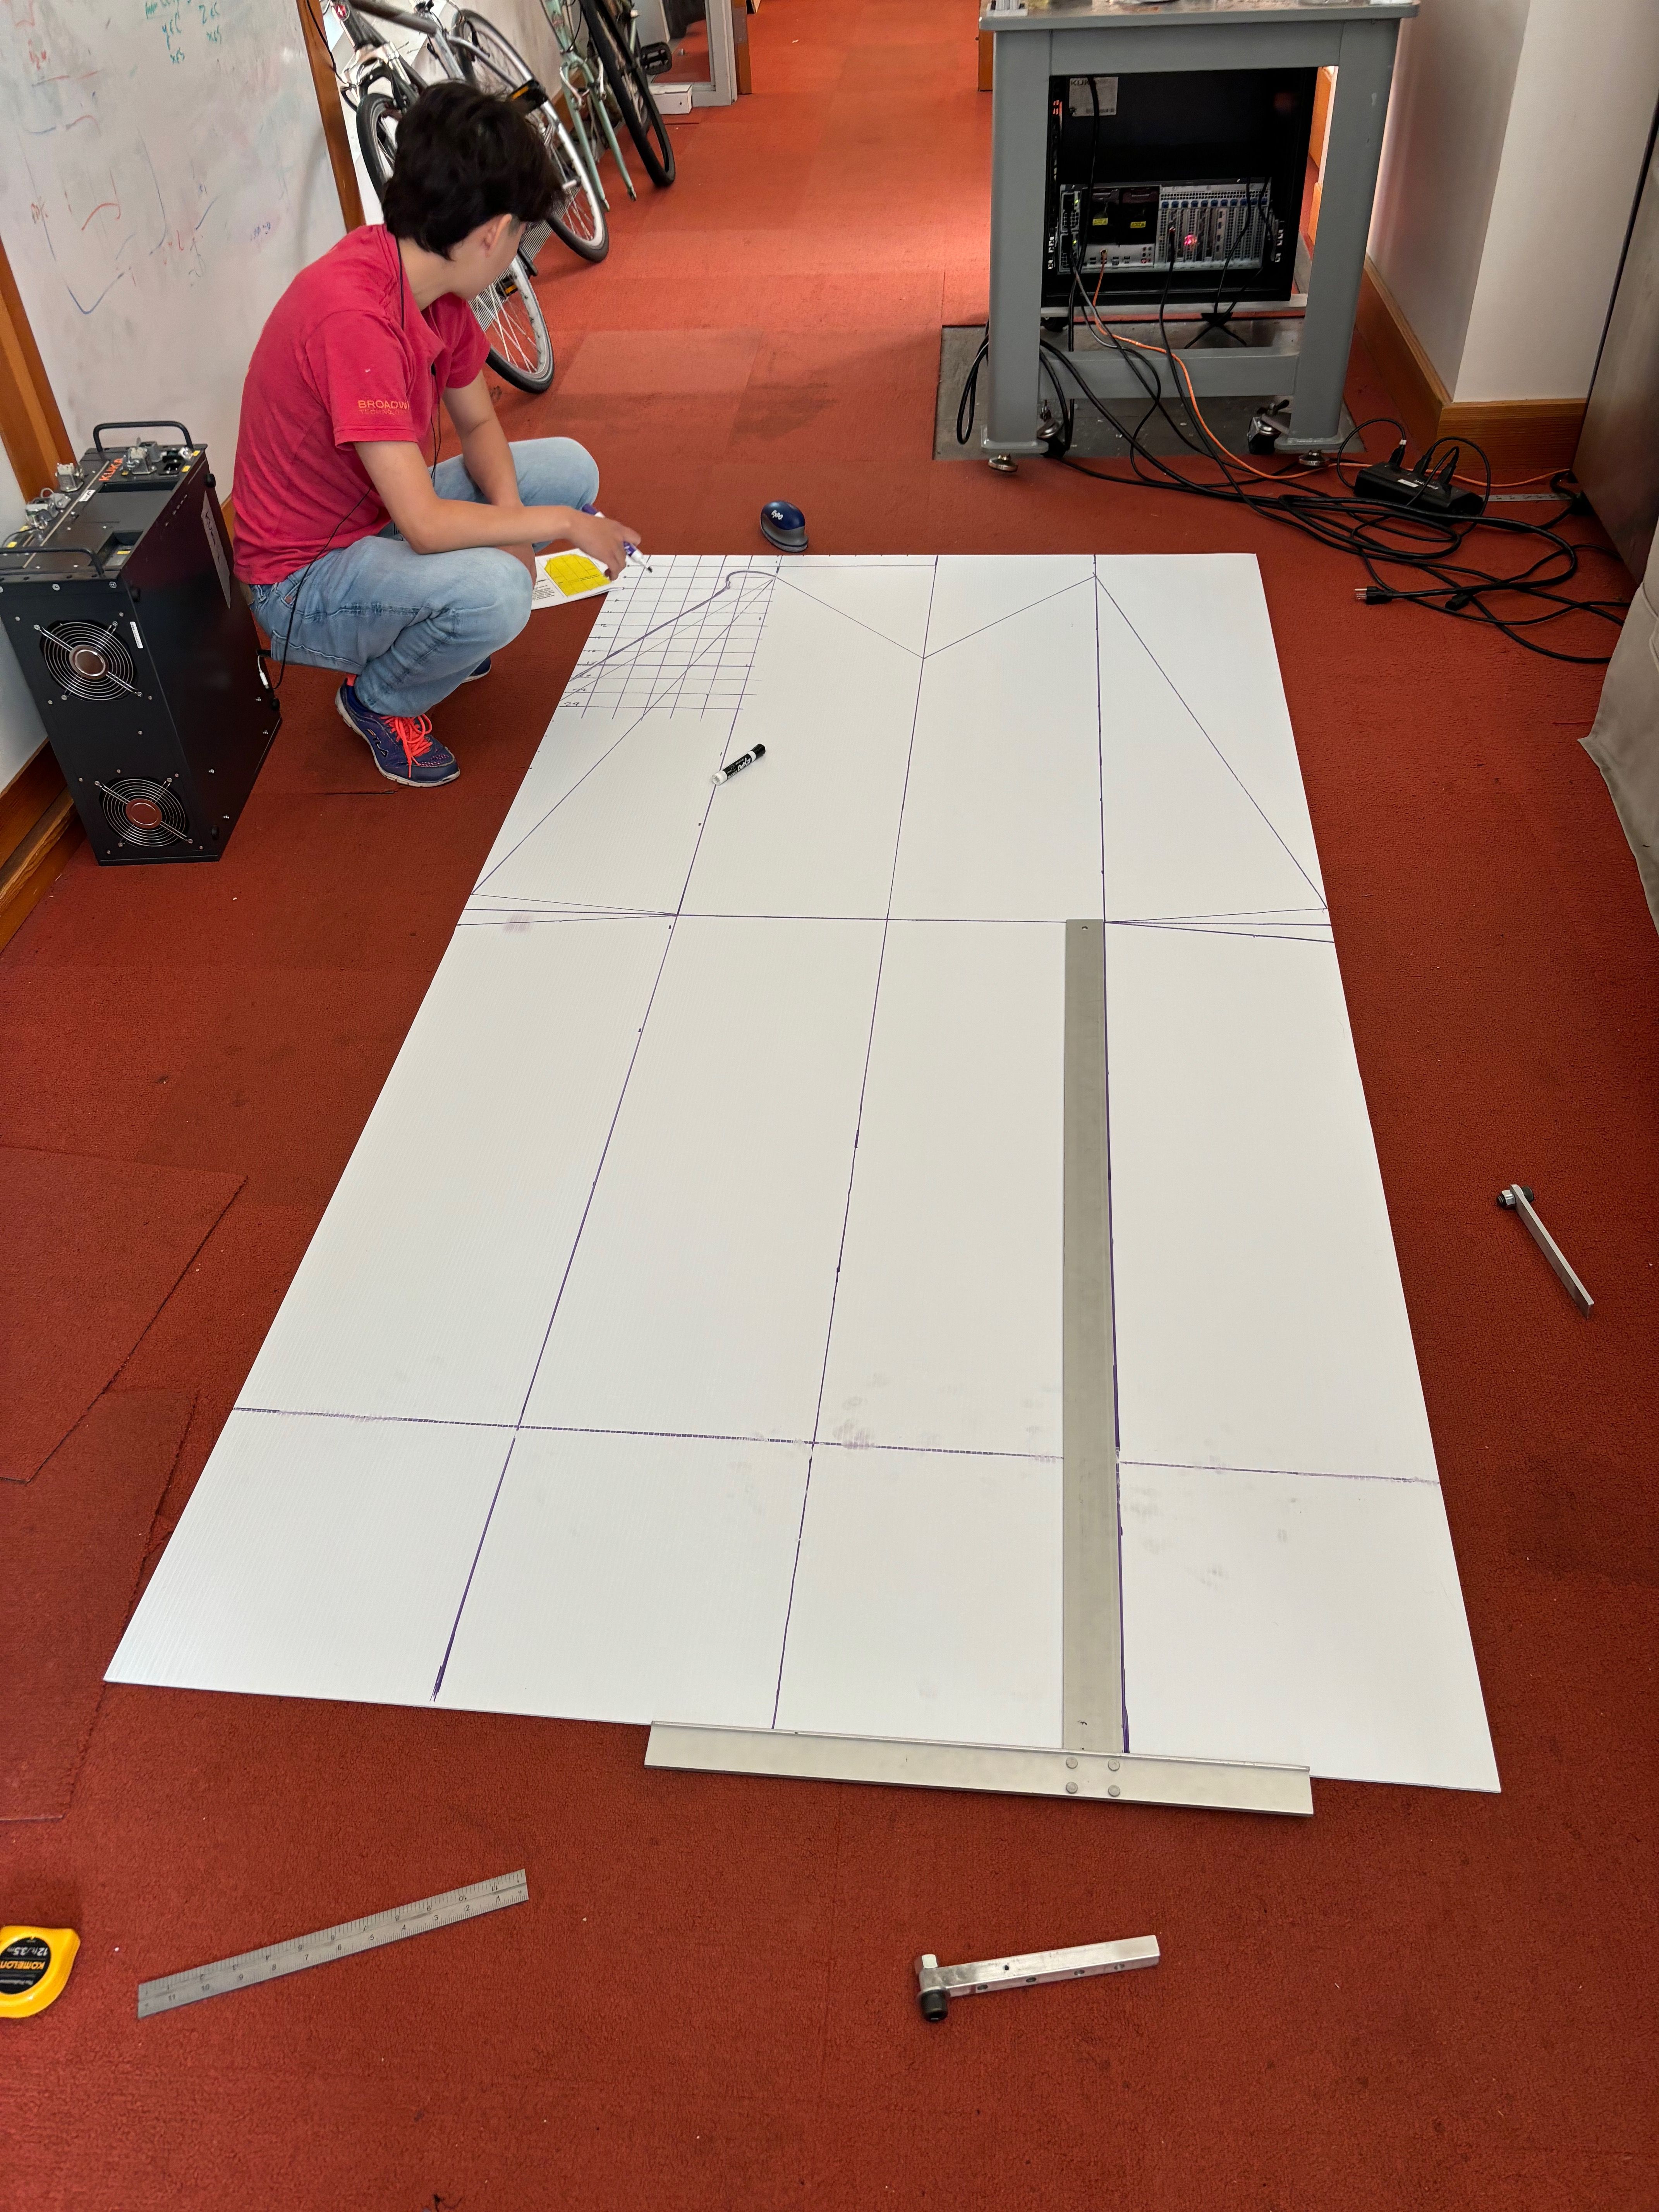
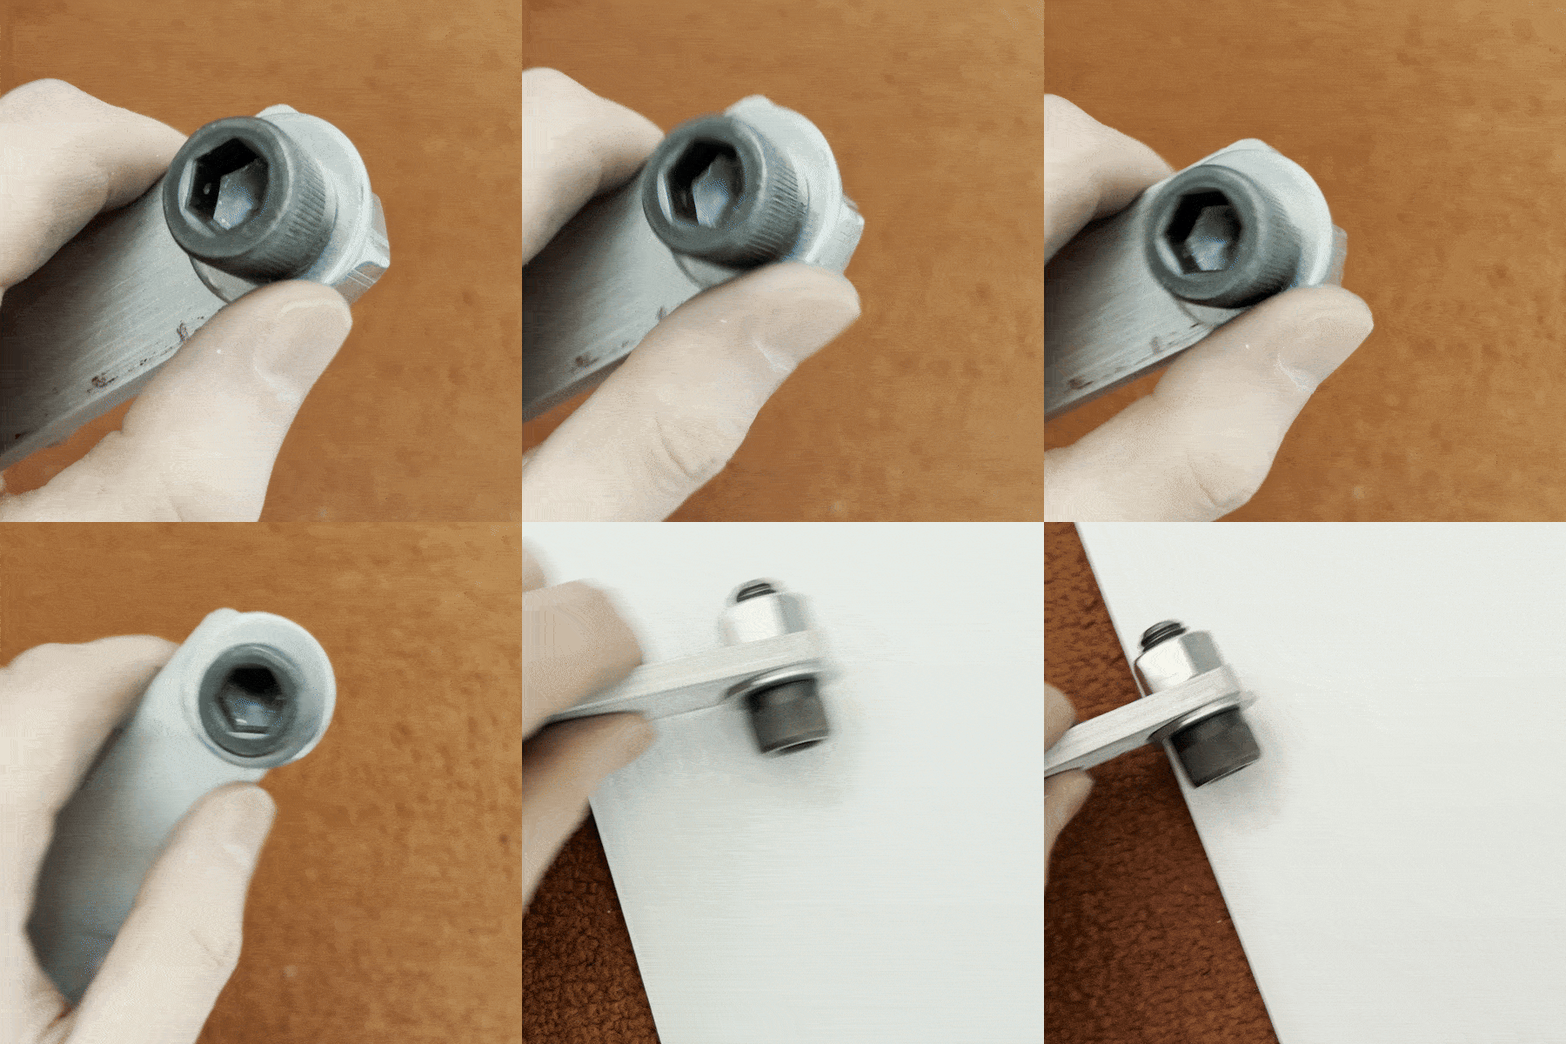
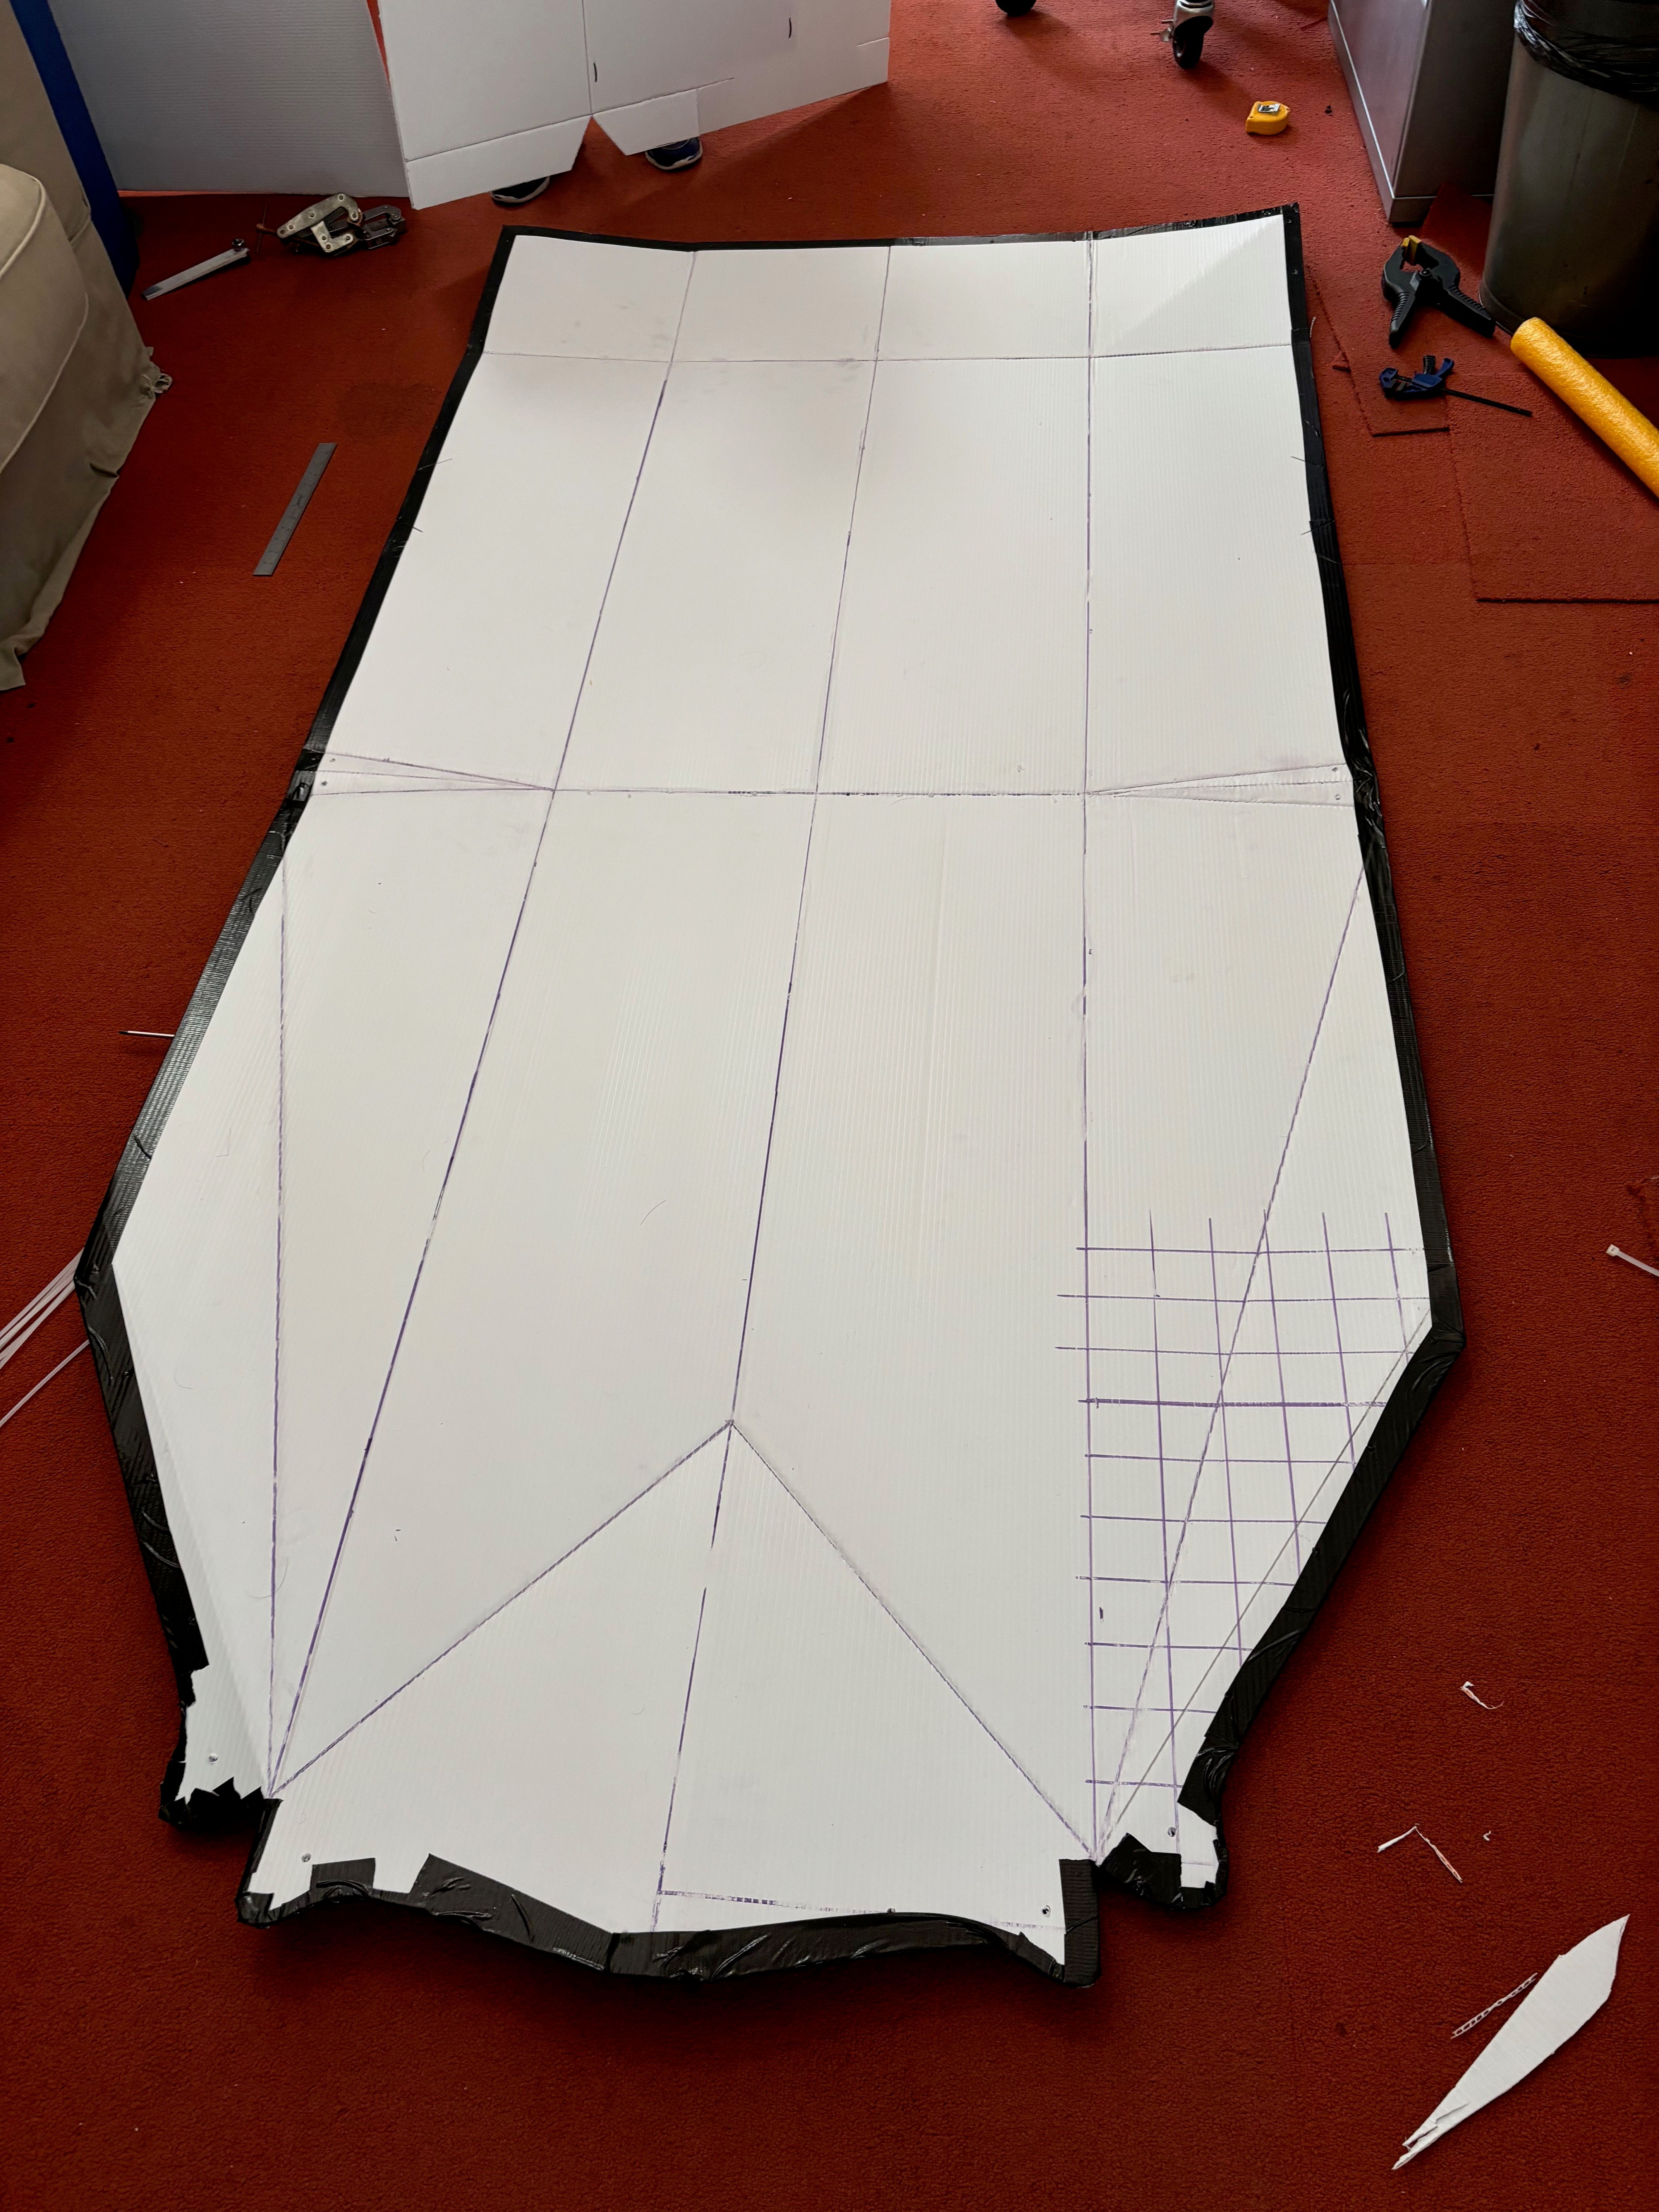
The next day, Rebecca started transfering the pattern onto the coroplast while I made two tools for scoring the plastic.
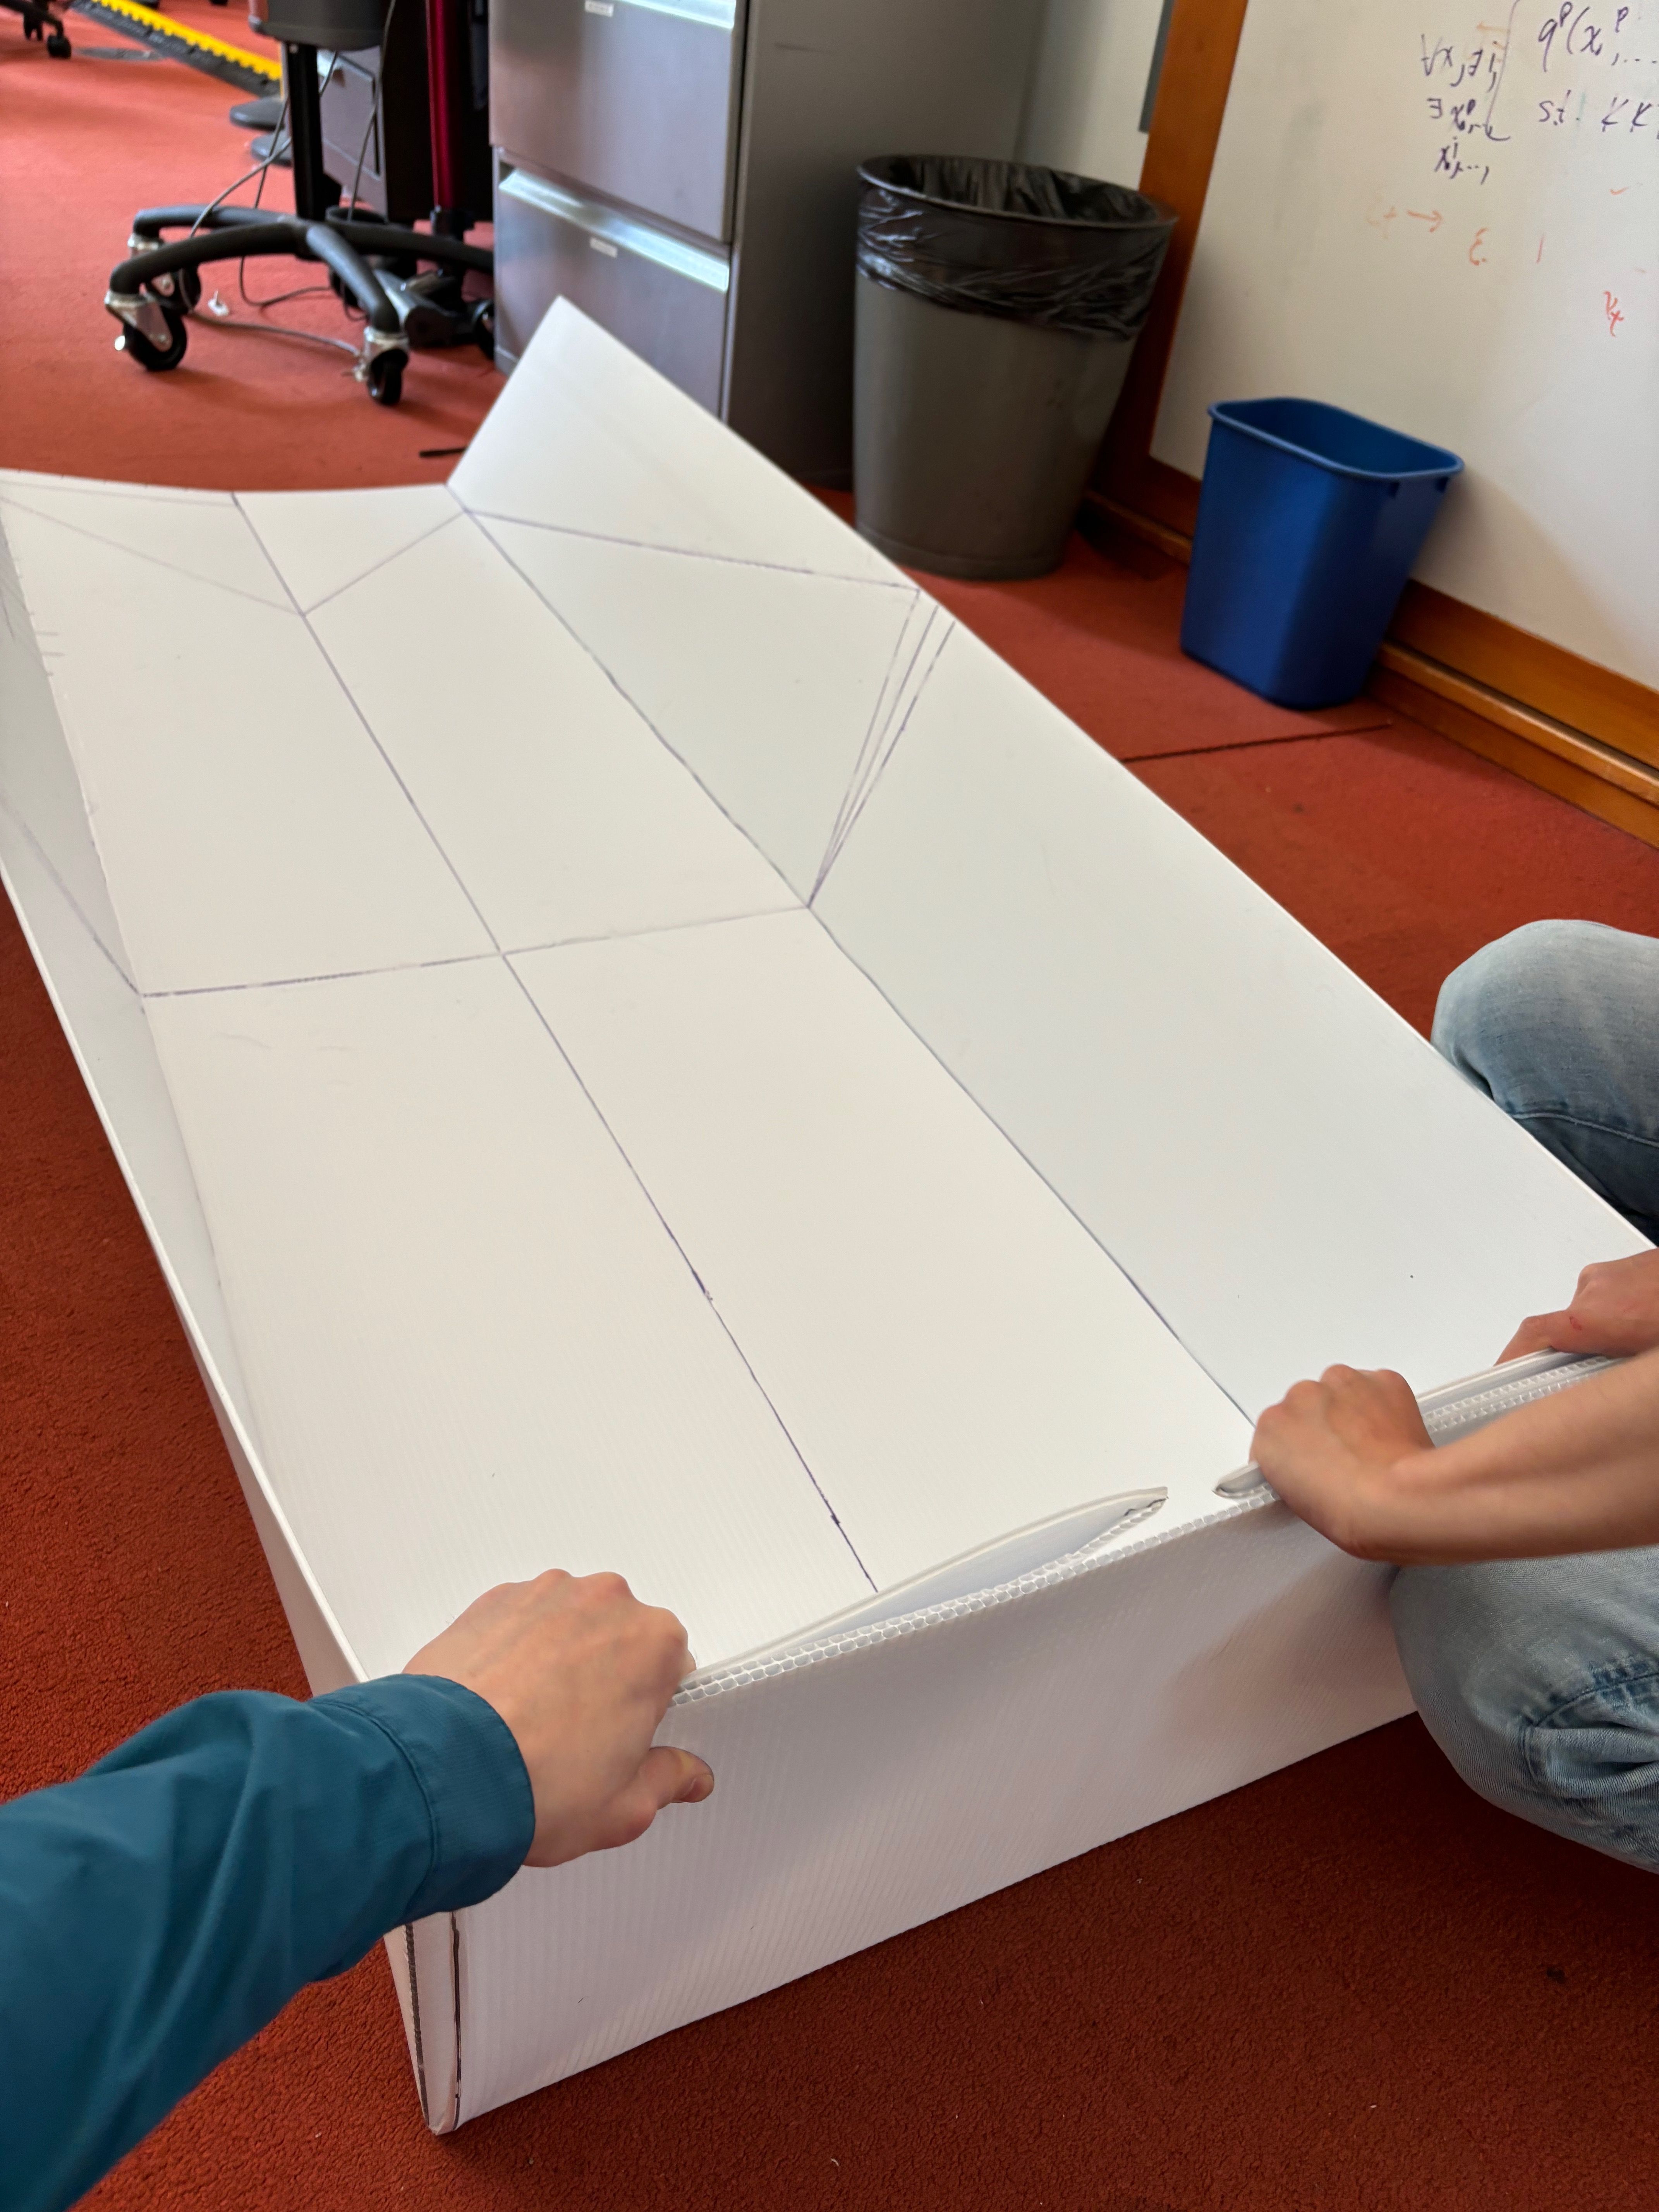
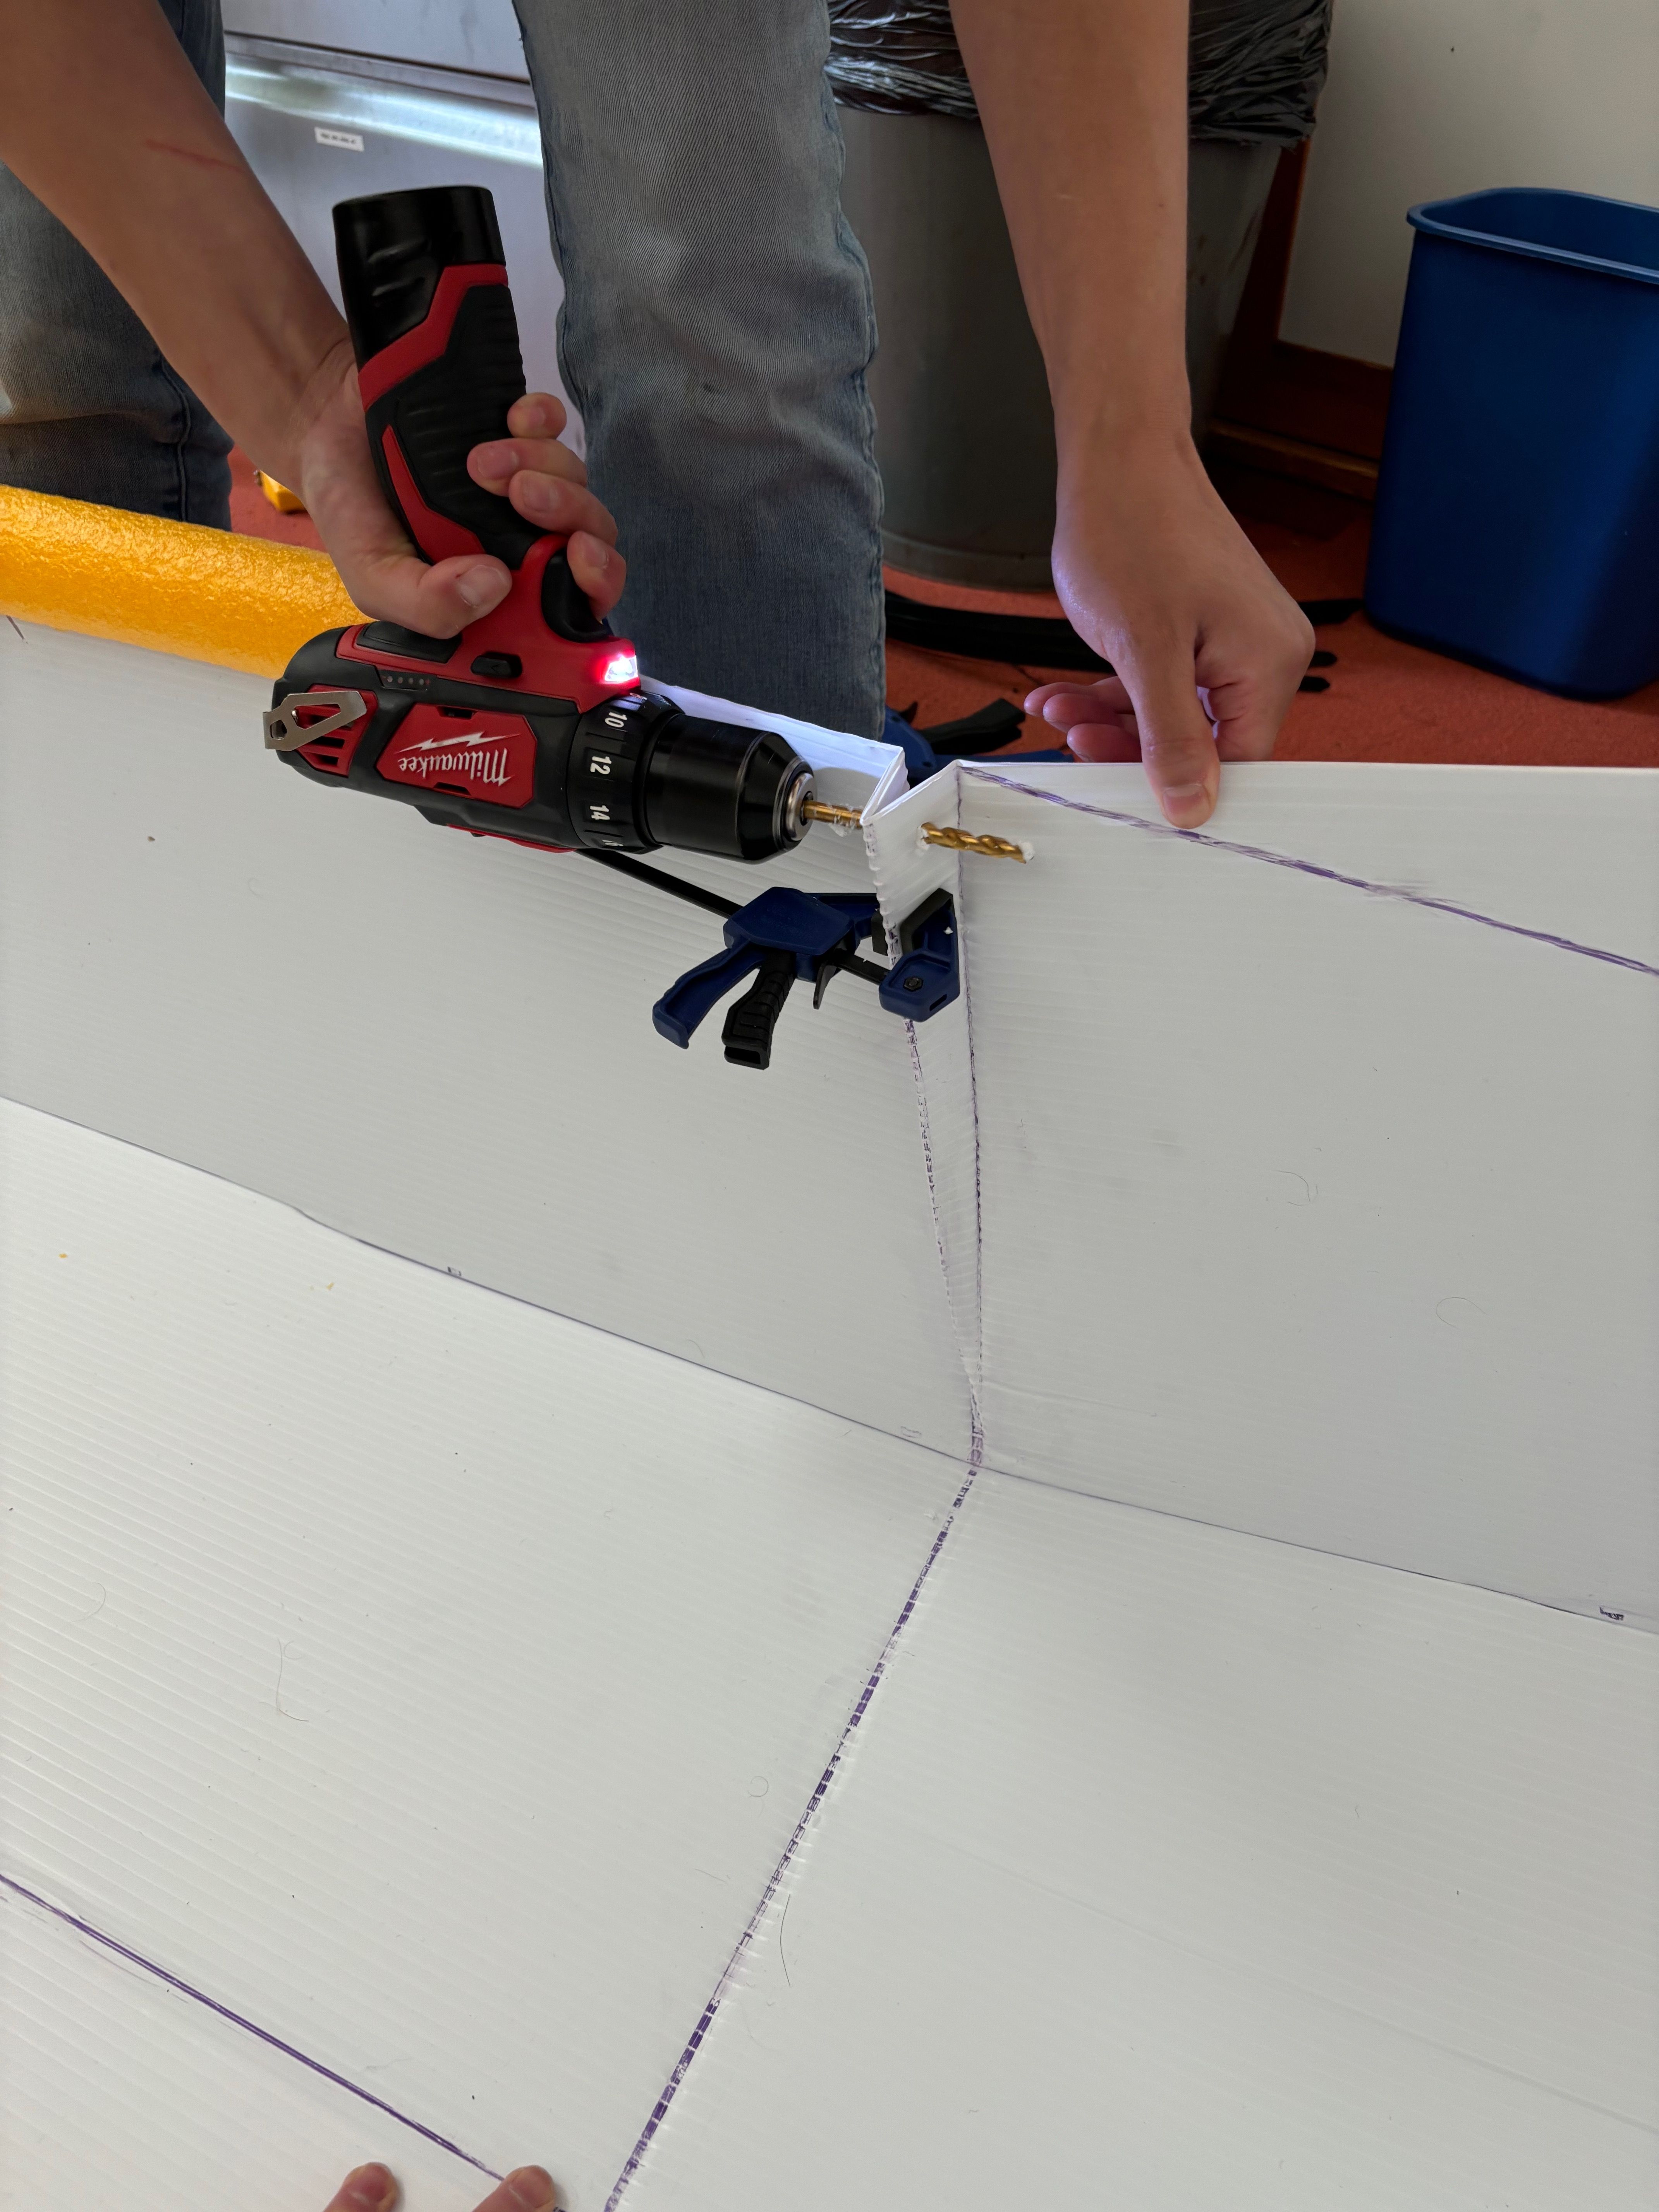
Drilling holes for the cable ties.
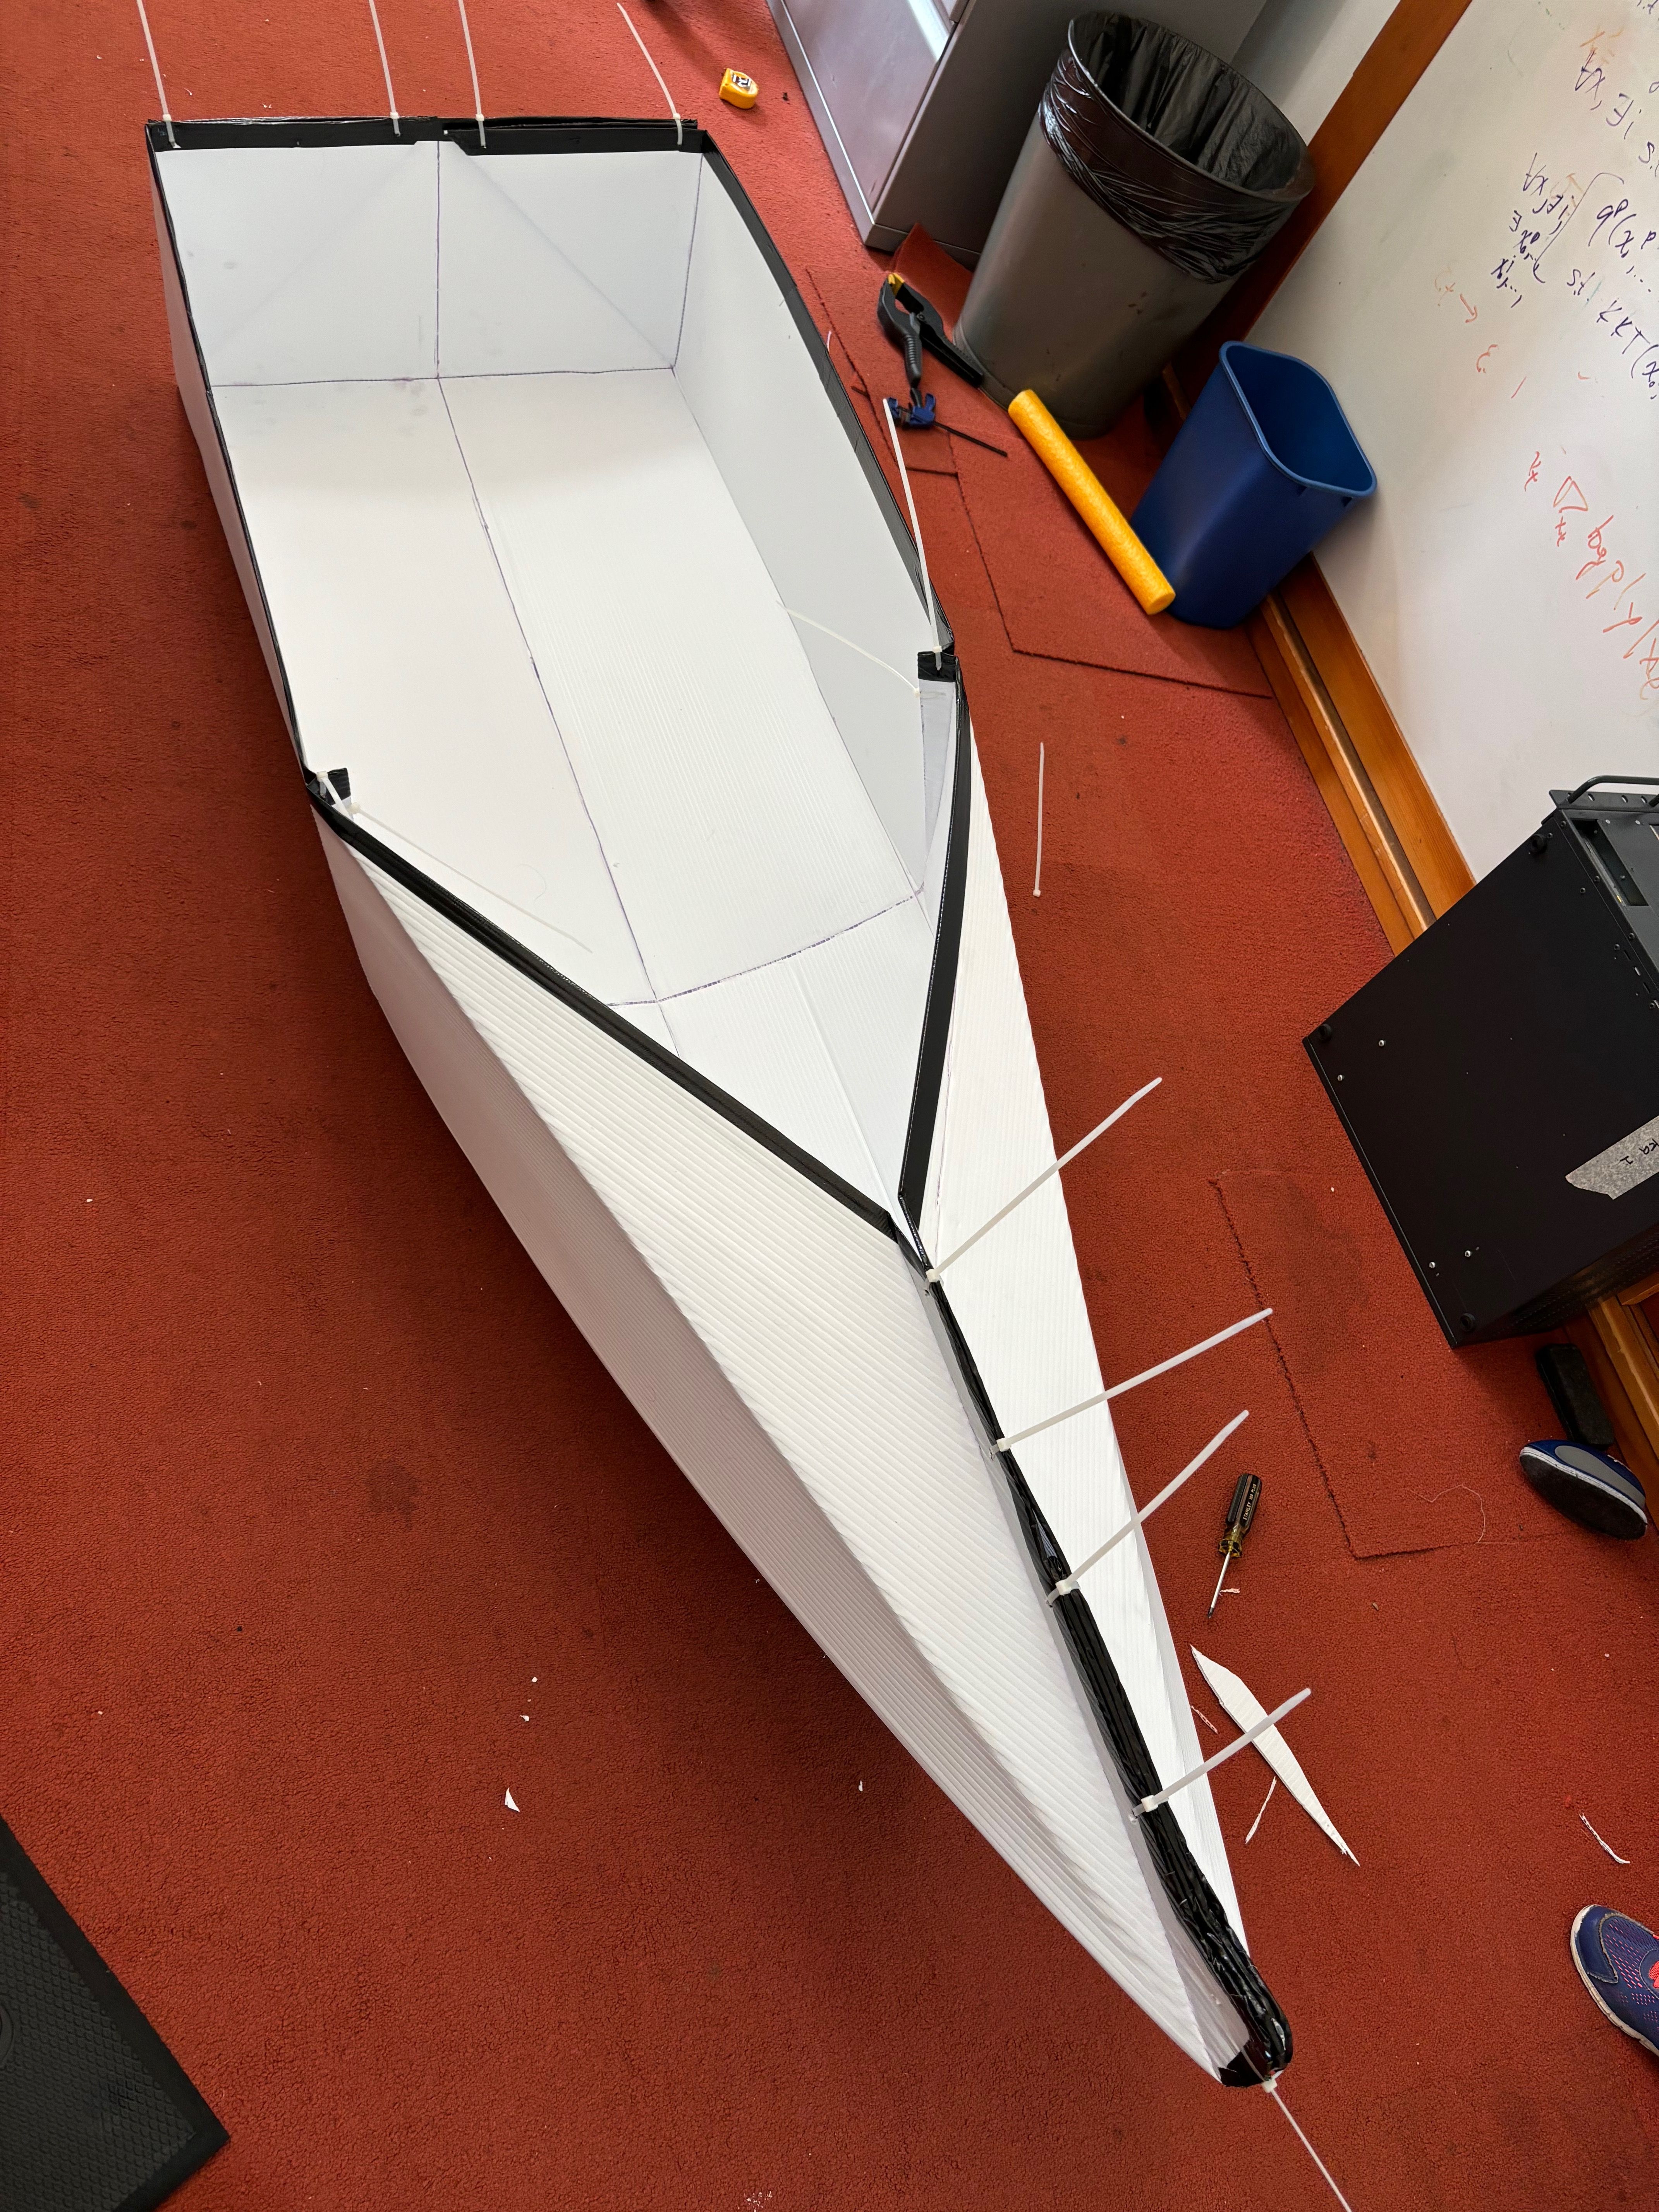
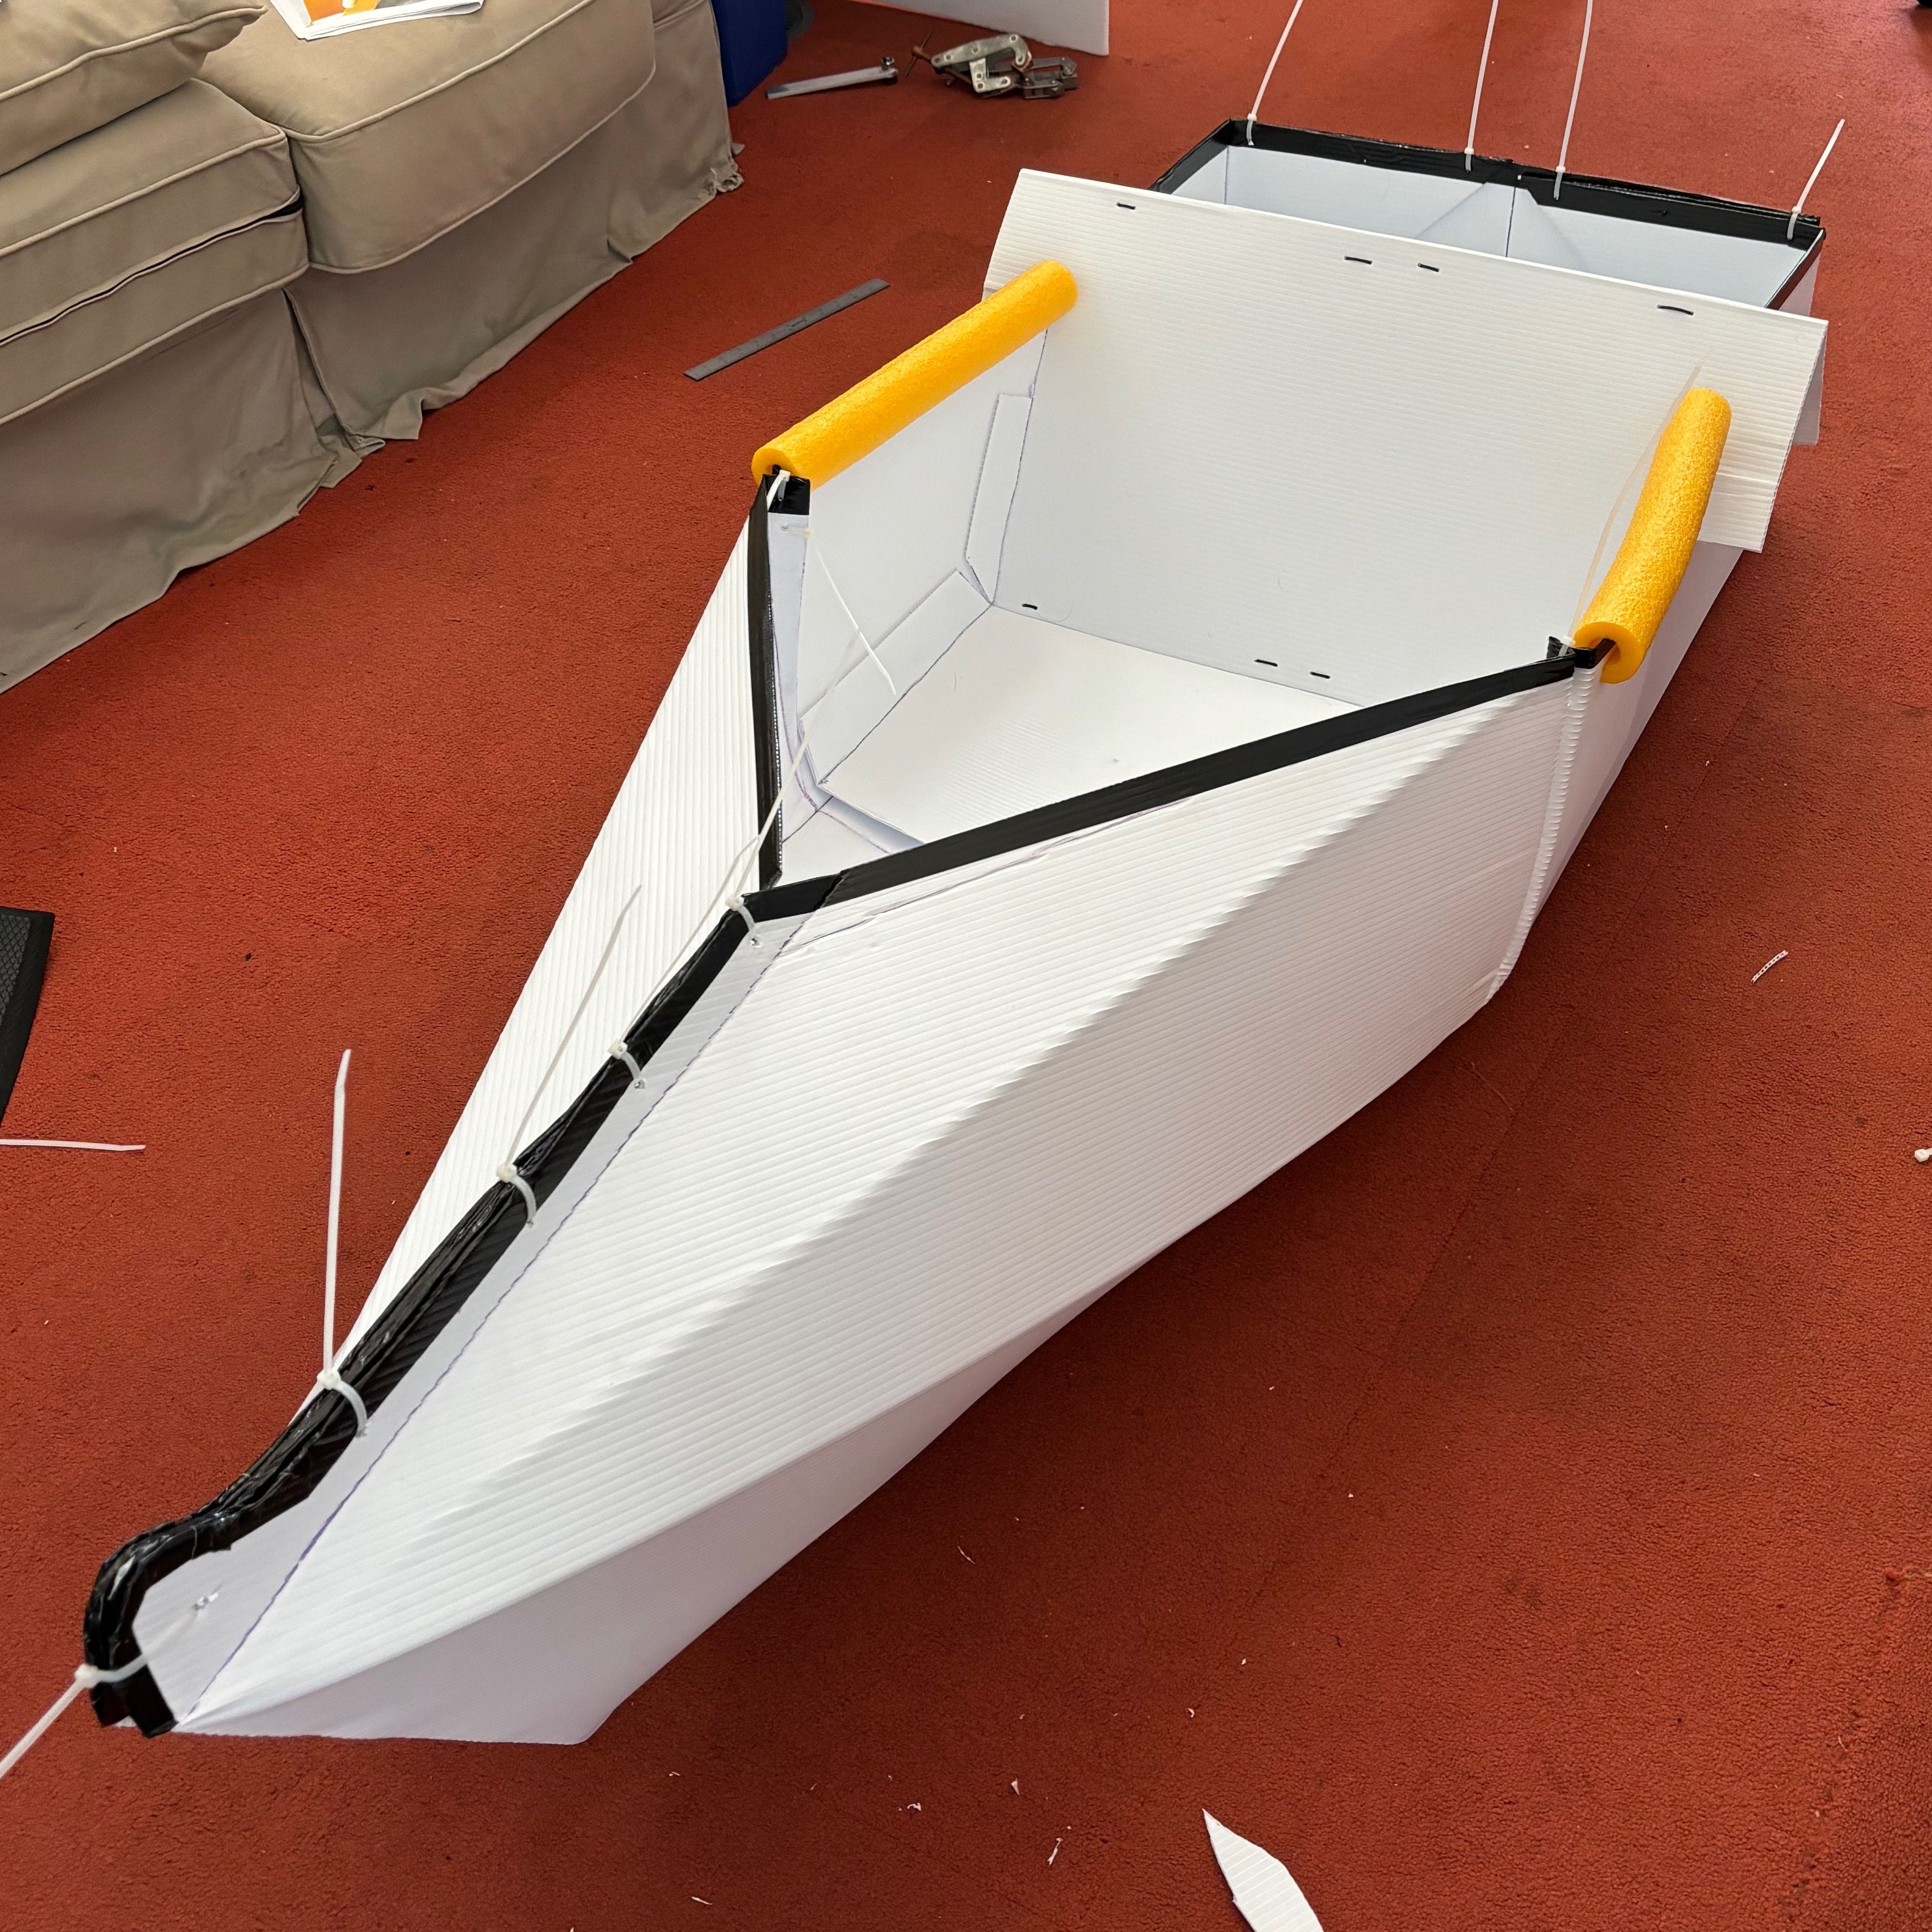
Fully assembled with the seat and arm rests.
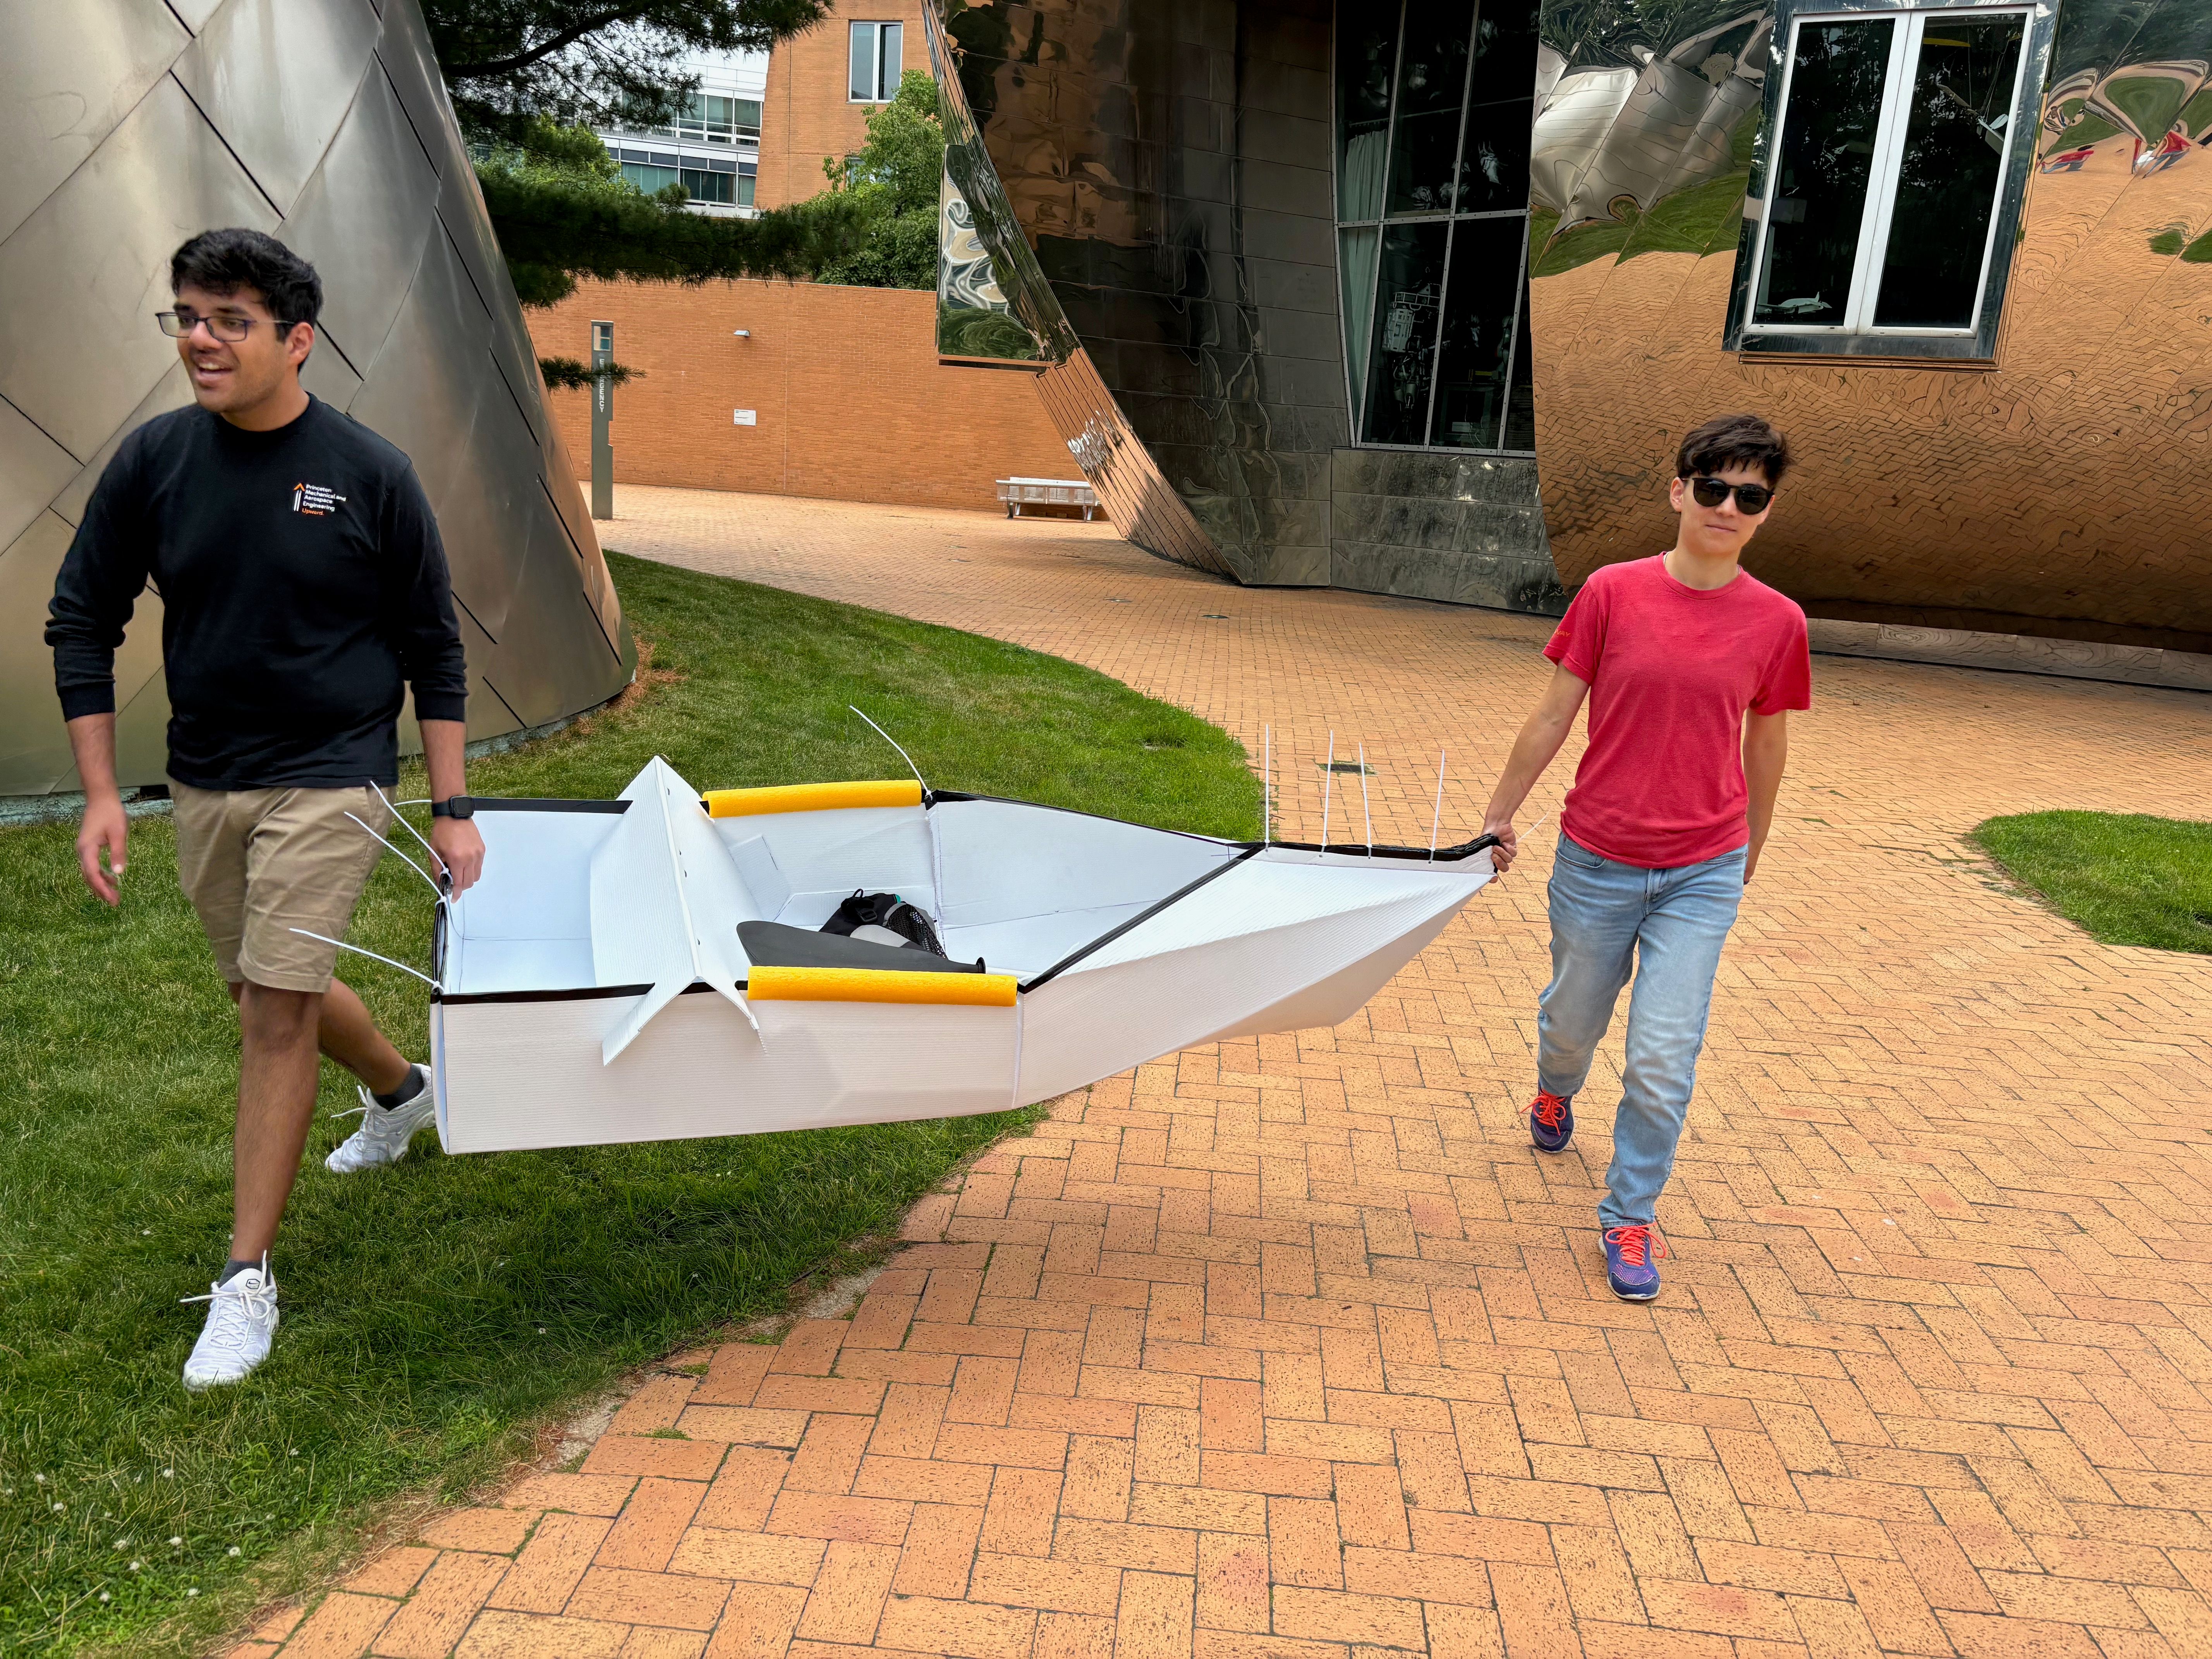
Testing the boat
Waiting for the supervisor to give us permission to test our boat at the MIT Sailing Pavillion.
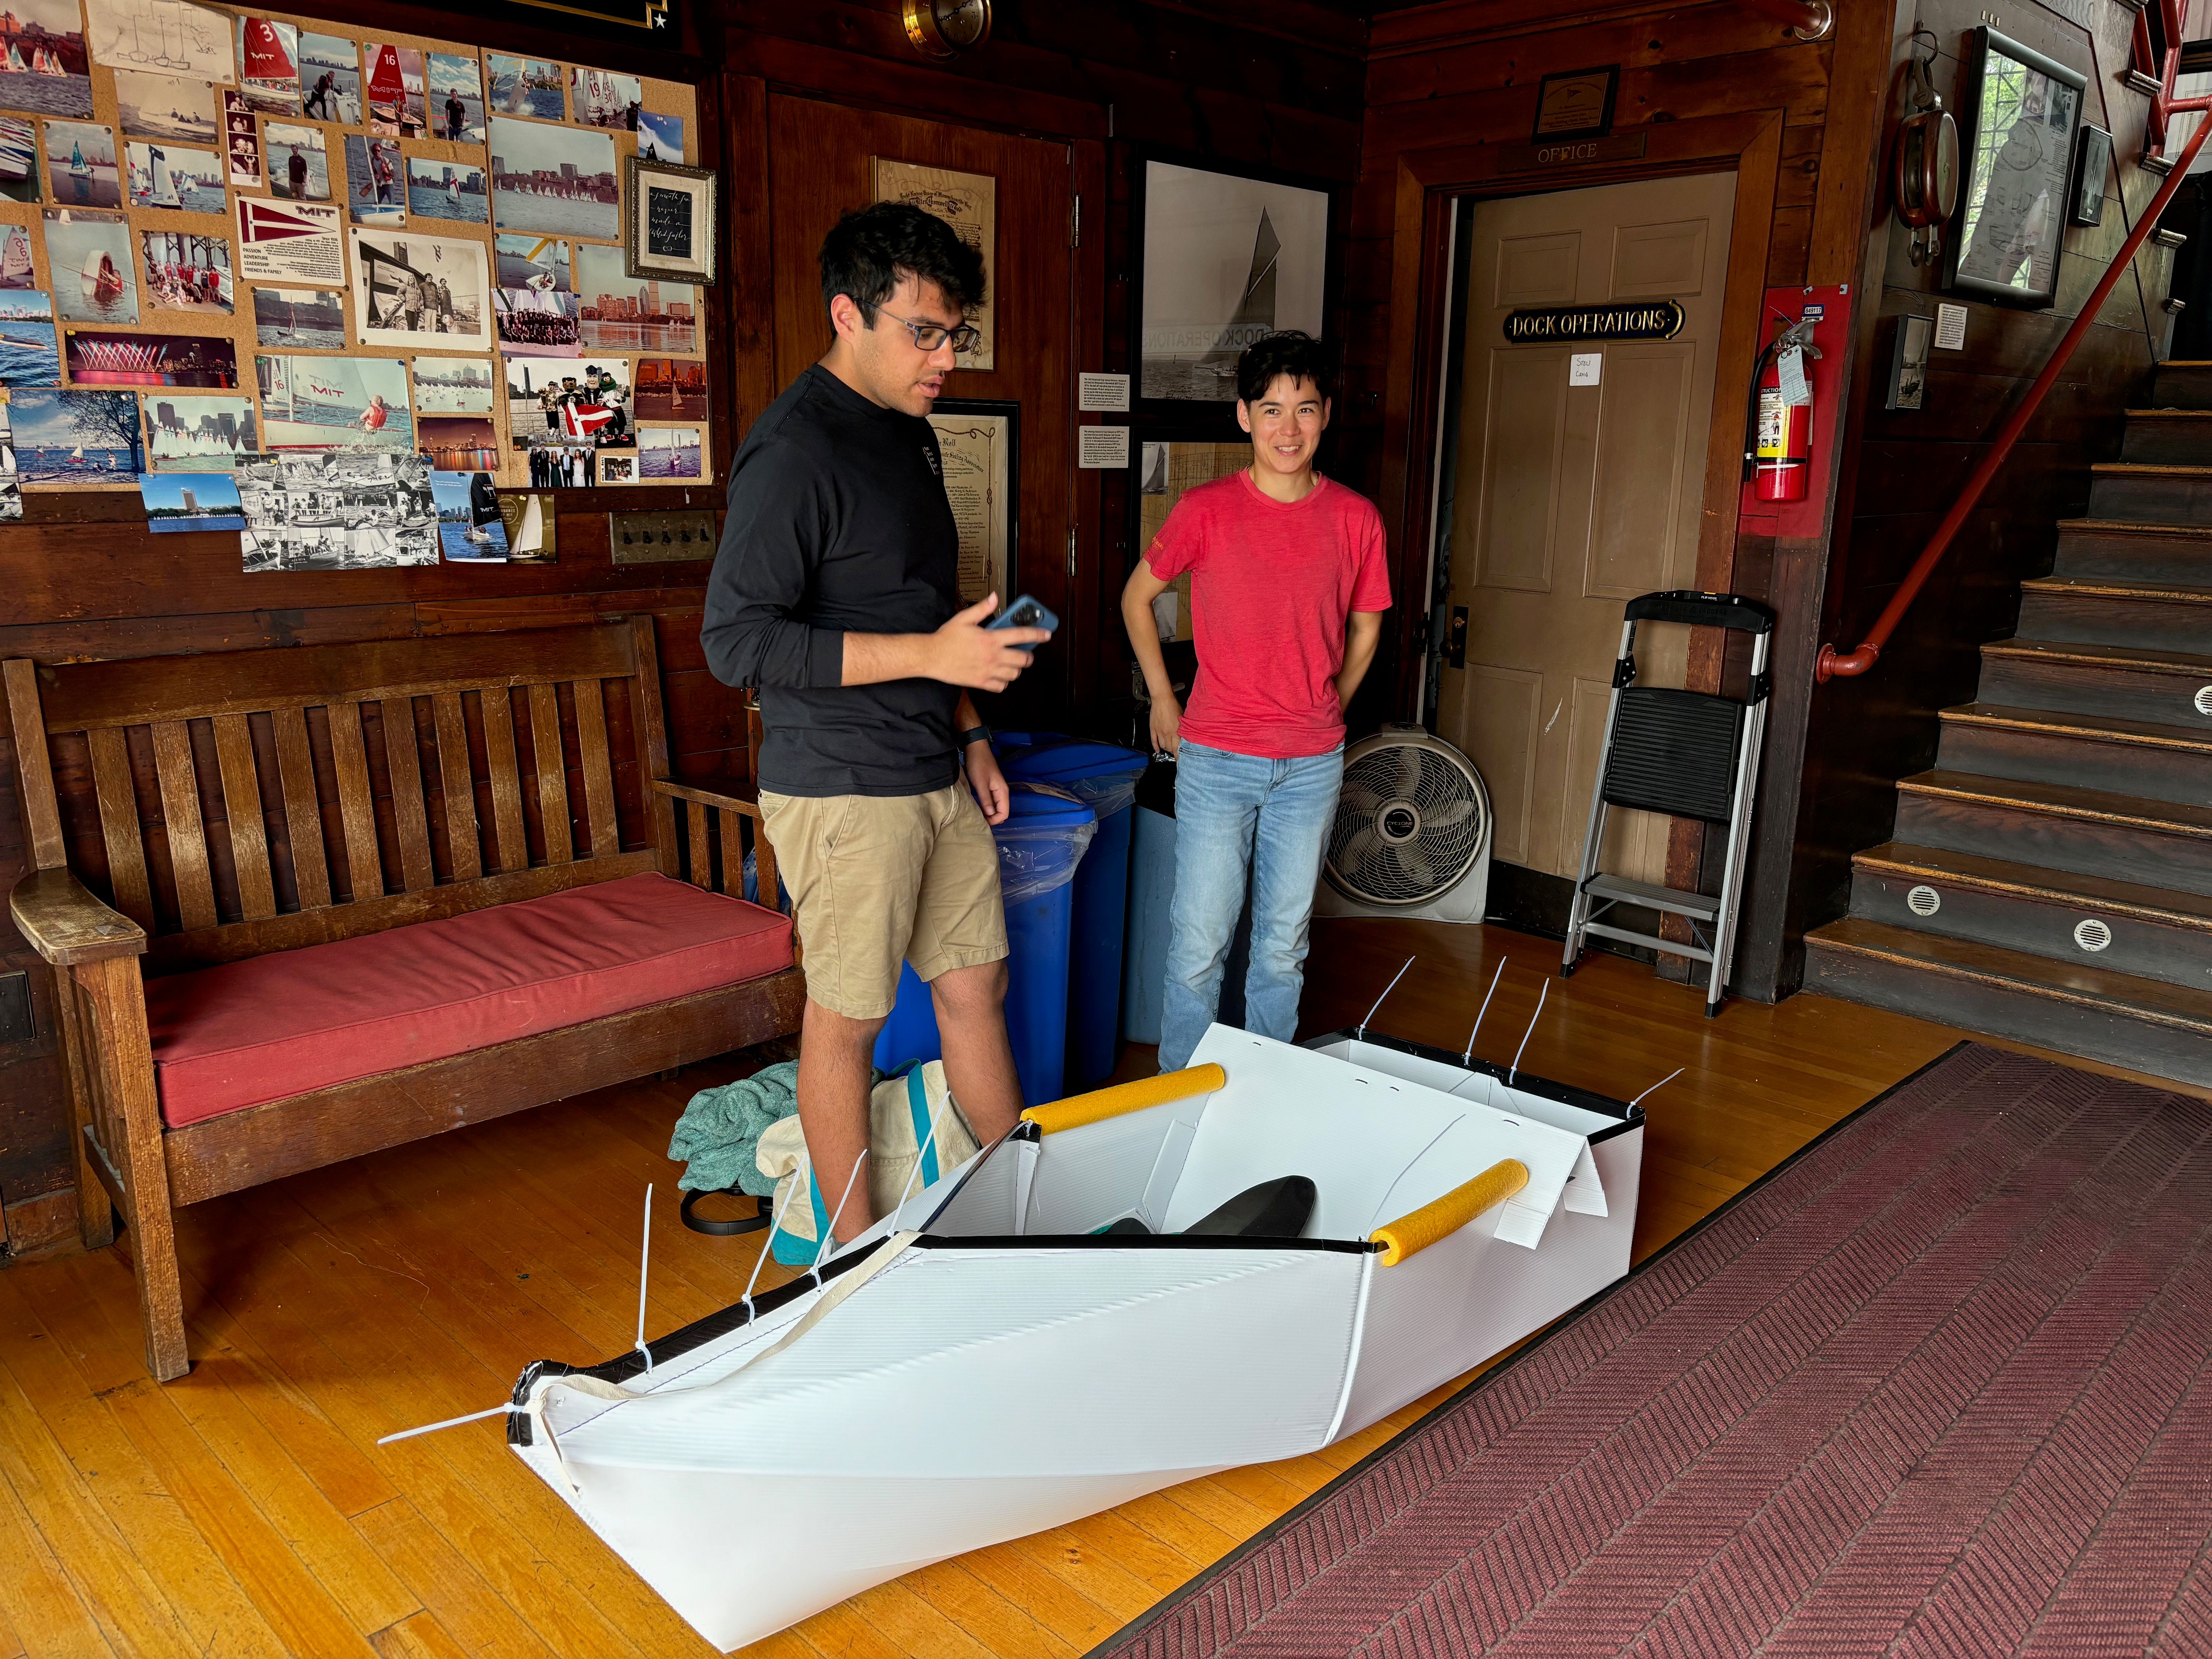
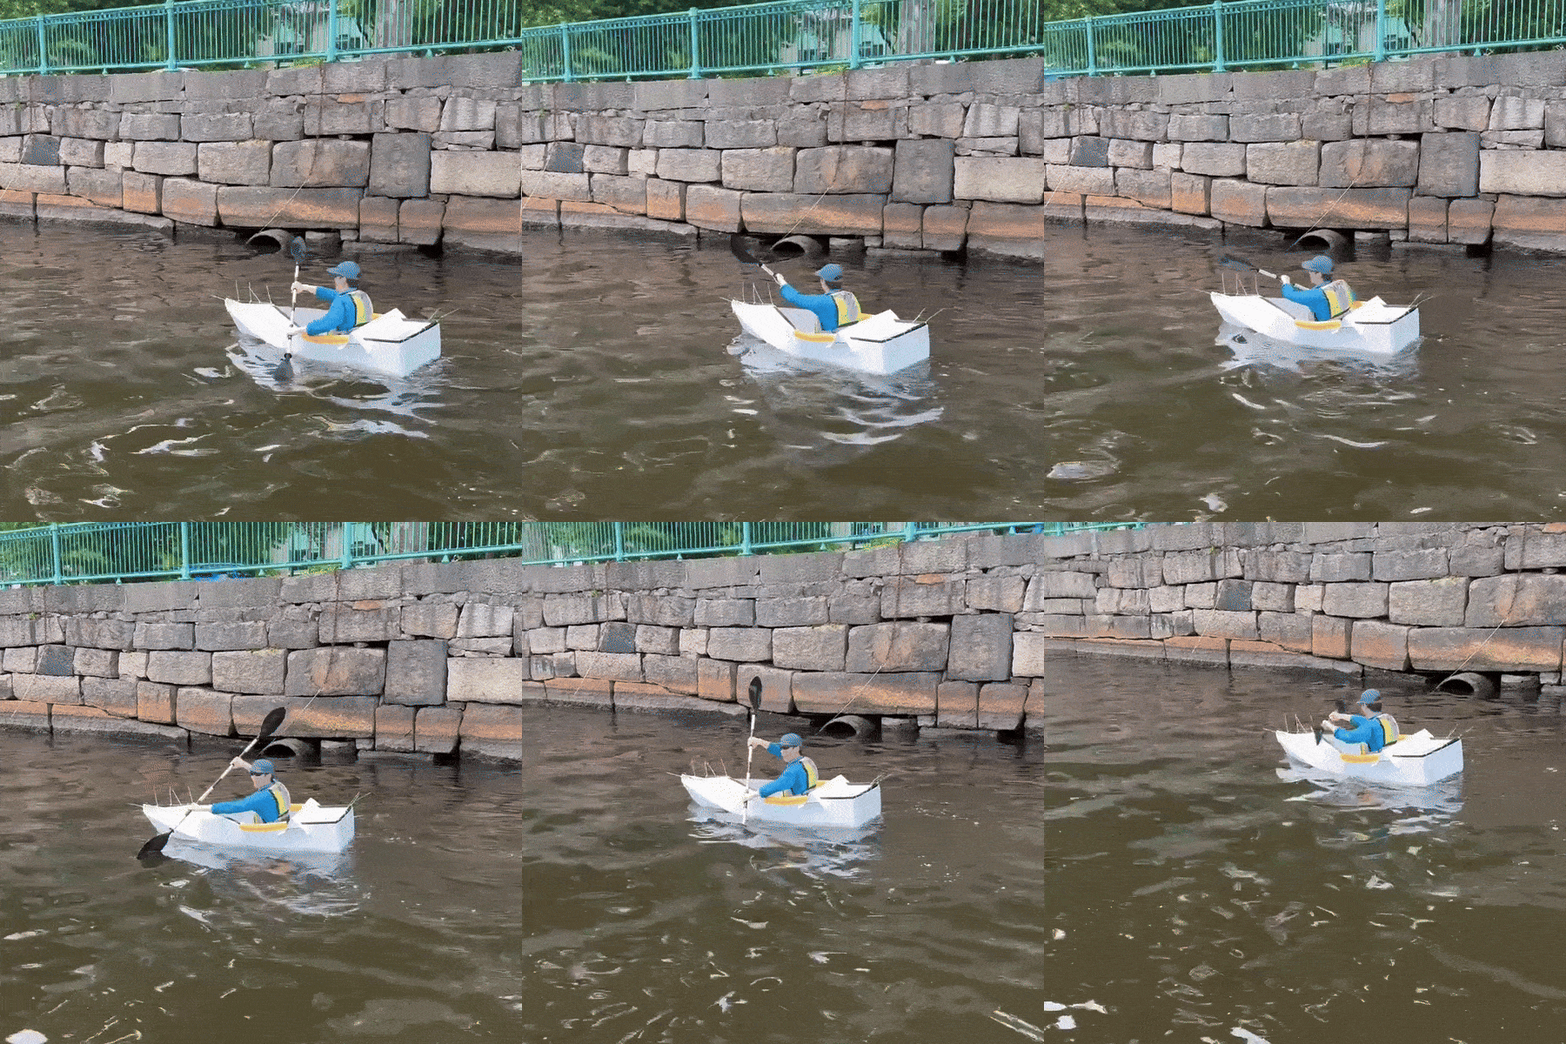
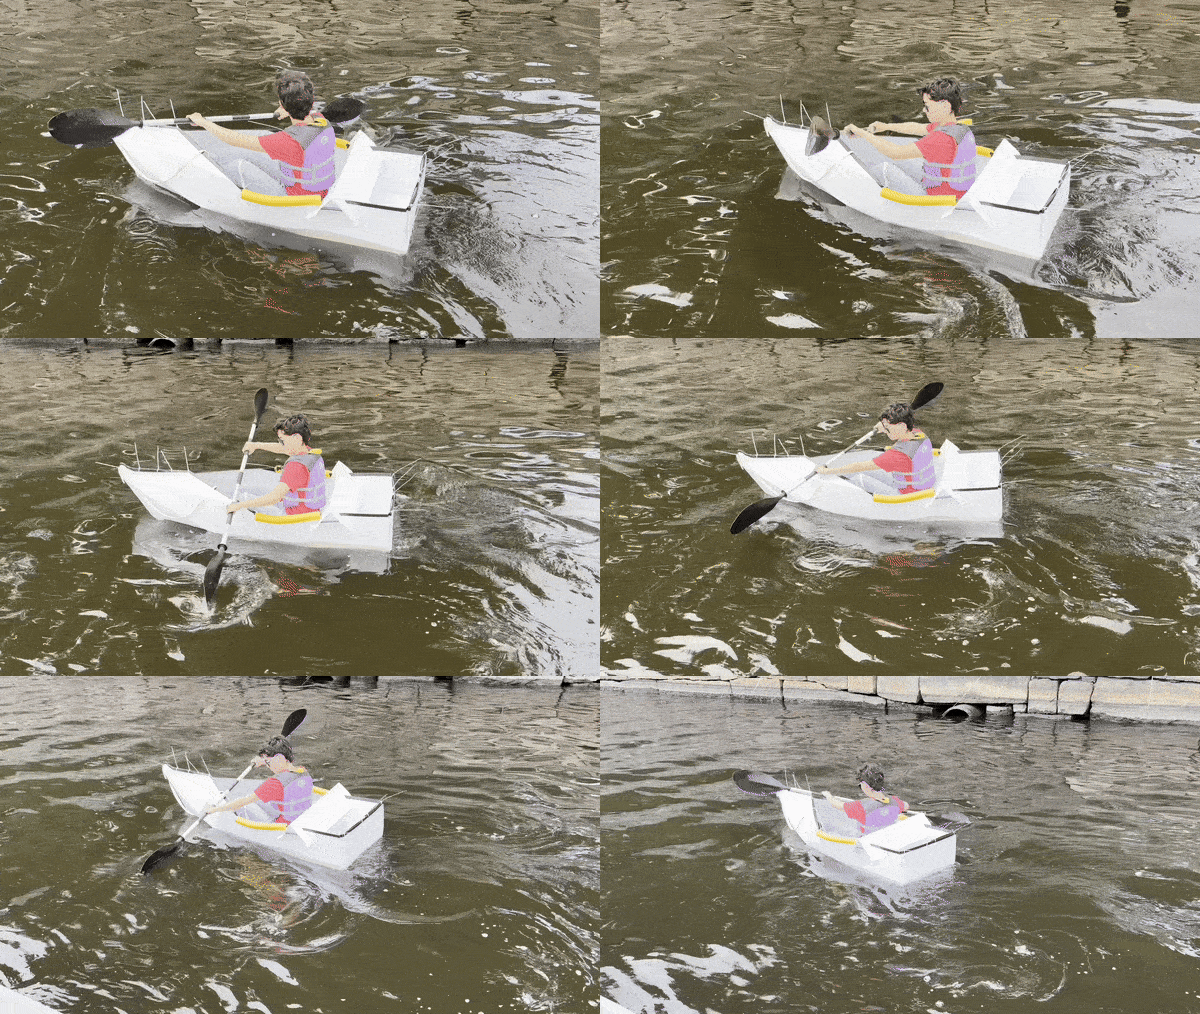
It didn’t sink! It felt pretty wobbly when I got in for the first time, and it definitely wasn’t the fastest kayak but for kind of floating around it did seem to work-ish.
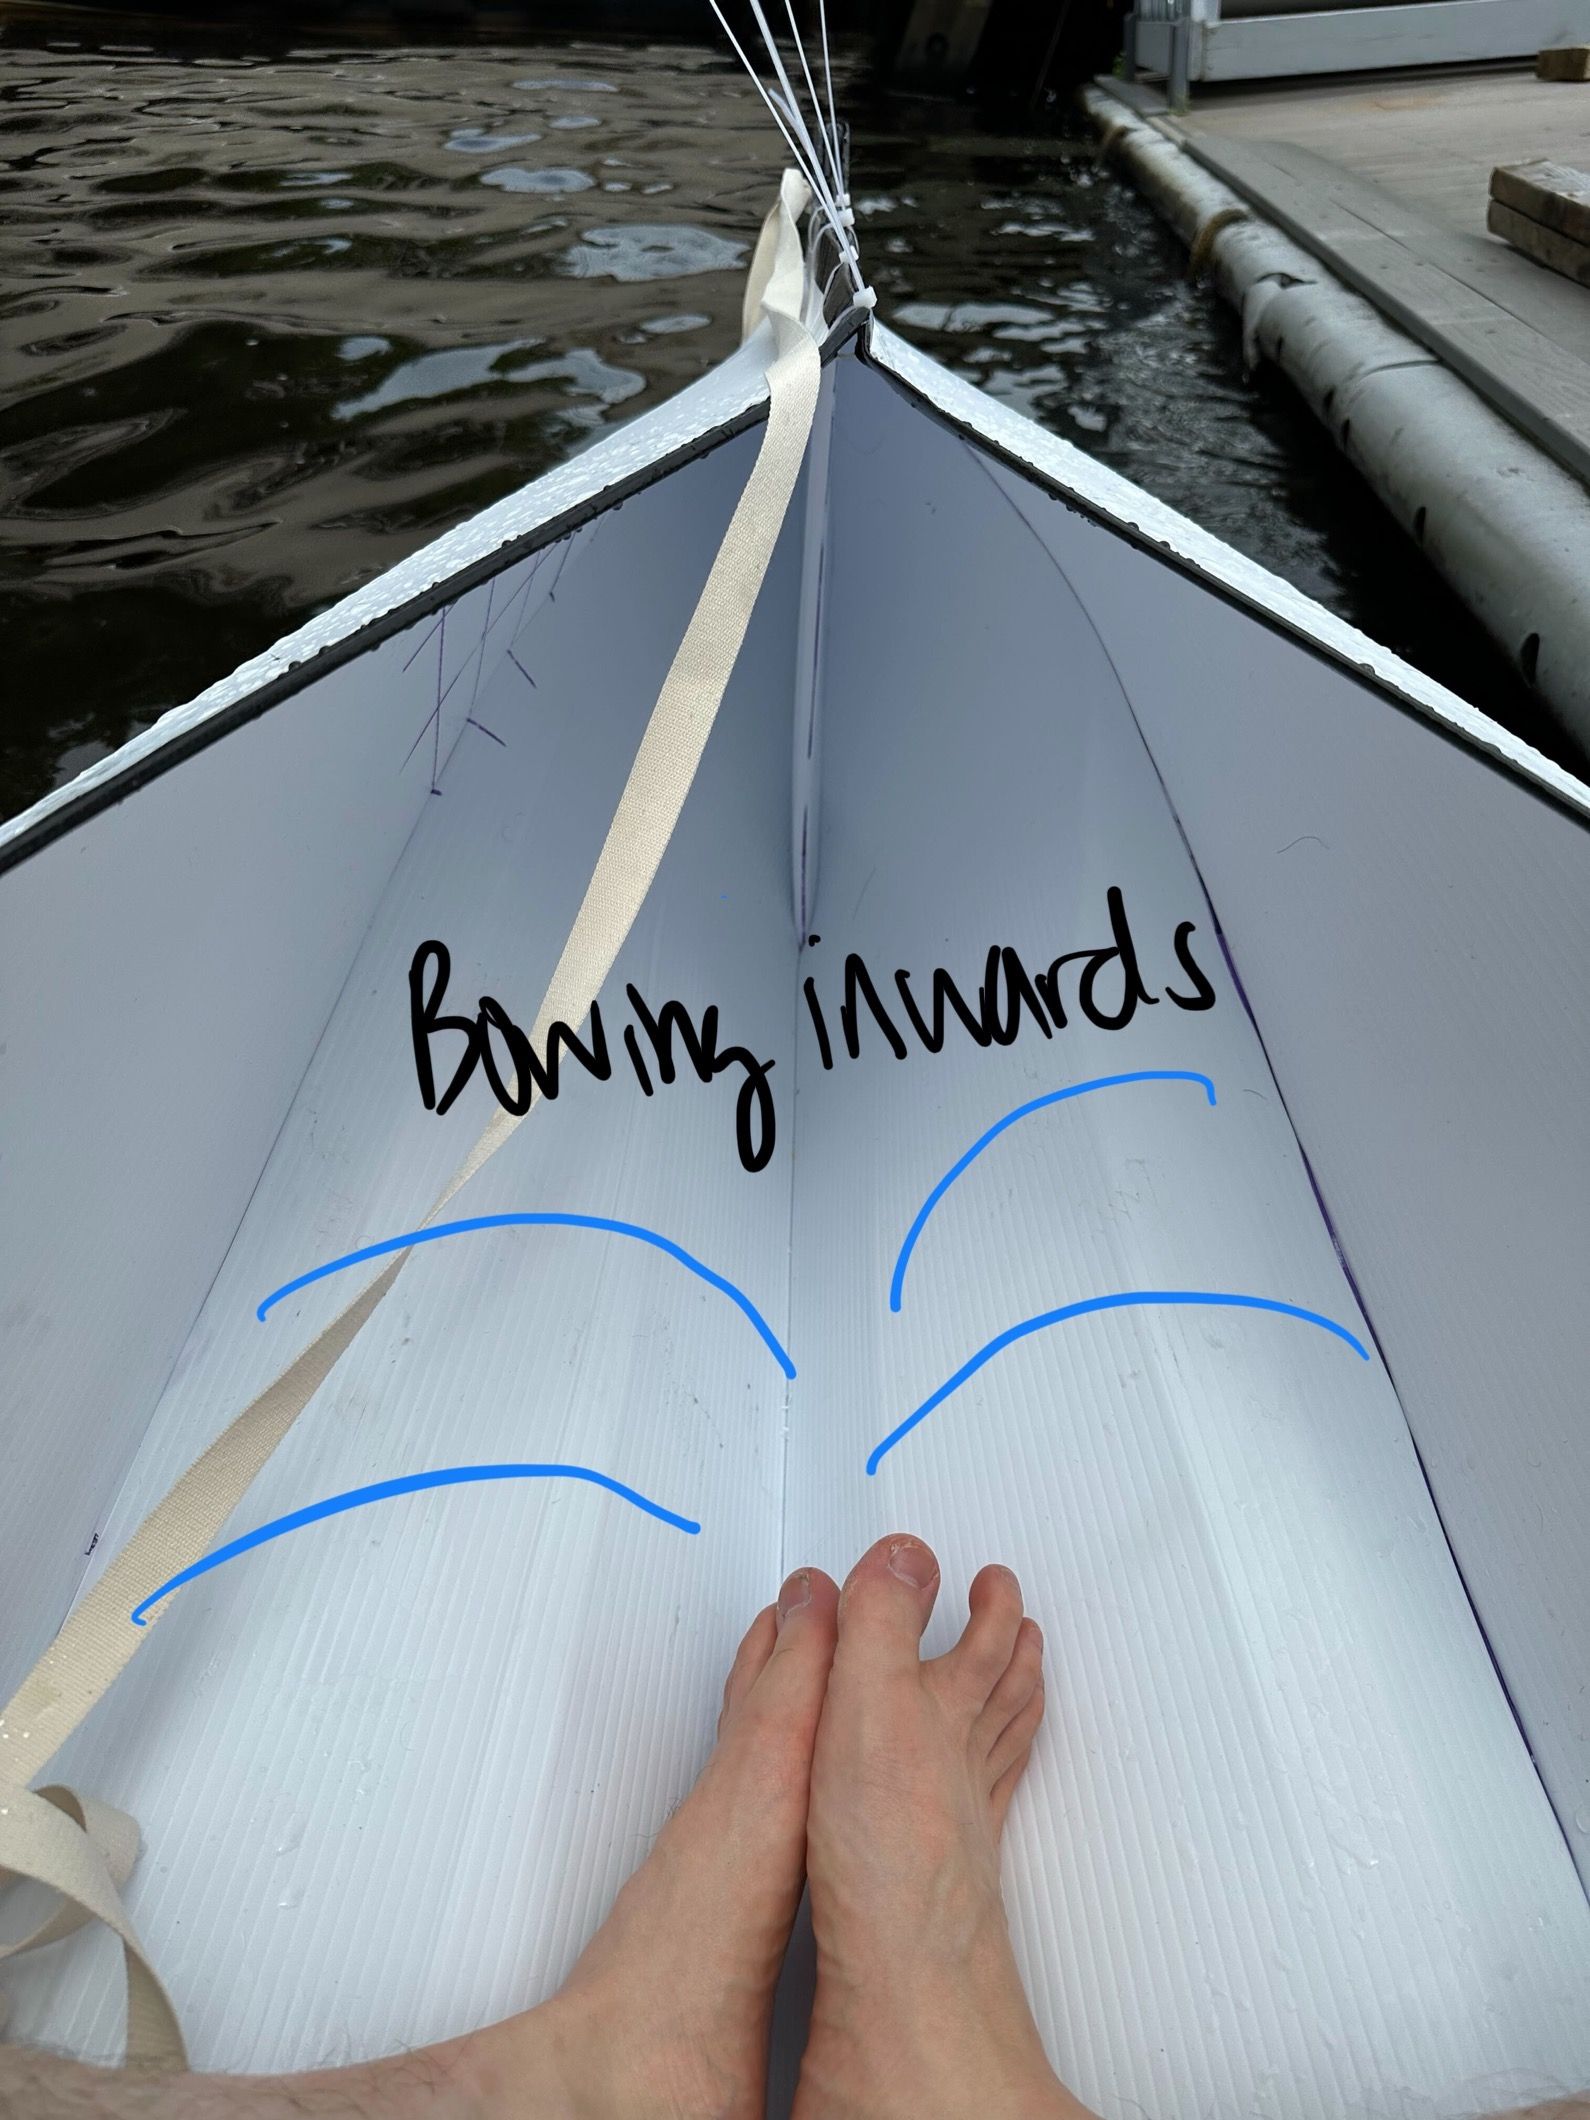
Something we noticed was that the sides of the boat were bowing inwards from the water pressure, kind of wanting to fold the boat in half like a sandwich. But it didn’t seem like the problem would get worse over time. So we concluded that the current design of the boat is serviceable.
Future Work
Changes I would be interested in trying for the next boat we buid:
- Making a skeleton out of aluminum angle, bolted together with short carriage bolts, lock washers and nuts. This skeleton would fit inside the same coroplast shell and just add some structural rigidity to the whole thing.
- Getting an electric trolling motor and attaching it to the back. Inspired by Paul Elkins’ tiny motor boats.
This might just be my technique but I didn’t enjoy the water dripping back in when I was paddling, which to the best of my memory has always happened when I’ve gone kayaking. Having the motor would solve that problem and also possibly overcome (with brute force) some of the non-aero-ness of the simple design making it a little more practical for actually going places on the water.