Context
My side of the bed is almost right up against the wall, so we don’t have much space for a full bedside table. There’s a wide window ledge that I could use to put my stuff but 1) at night we close the blackout curtains which makes reaching for things more difficult, and 2) I feel it looks cluttered to always have stuff on that ledge.
Requirements
- Not be visible from most places in the room.
- Easily mount to the bed frame without additional hardware or multiple steps.
- Stay off the floor so vacuuming is easier.
- Have enough space for my stuff.
- Have my things not easily fall onto the floor.
- Maintain enough space for the curtains to close.
Design
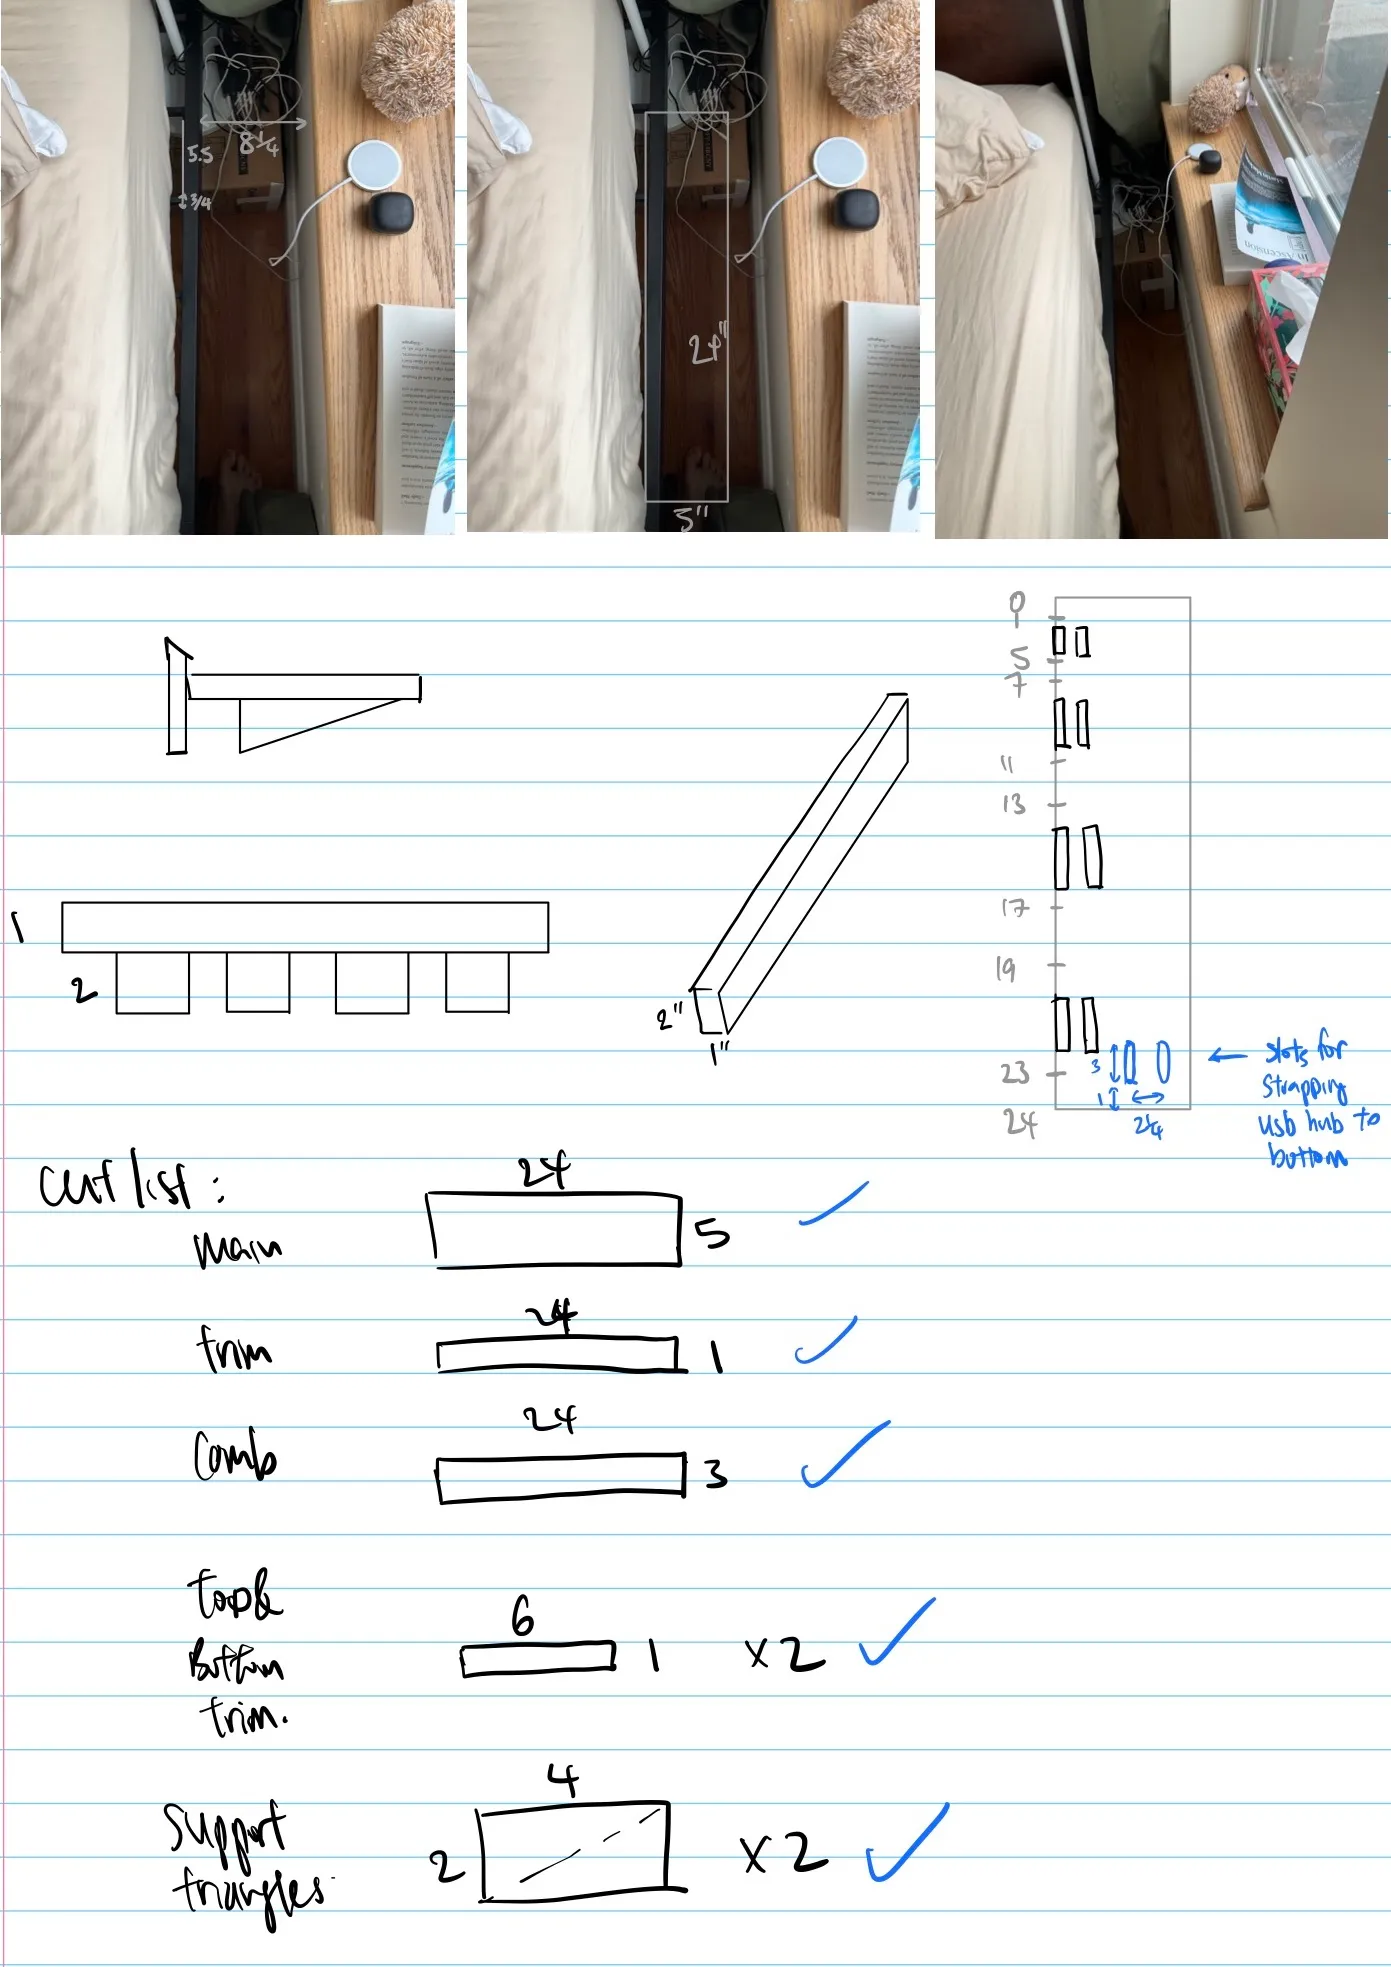
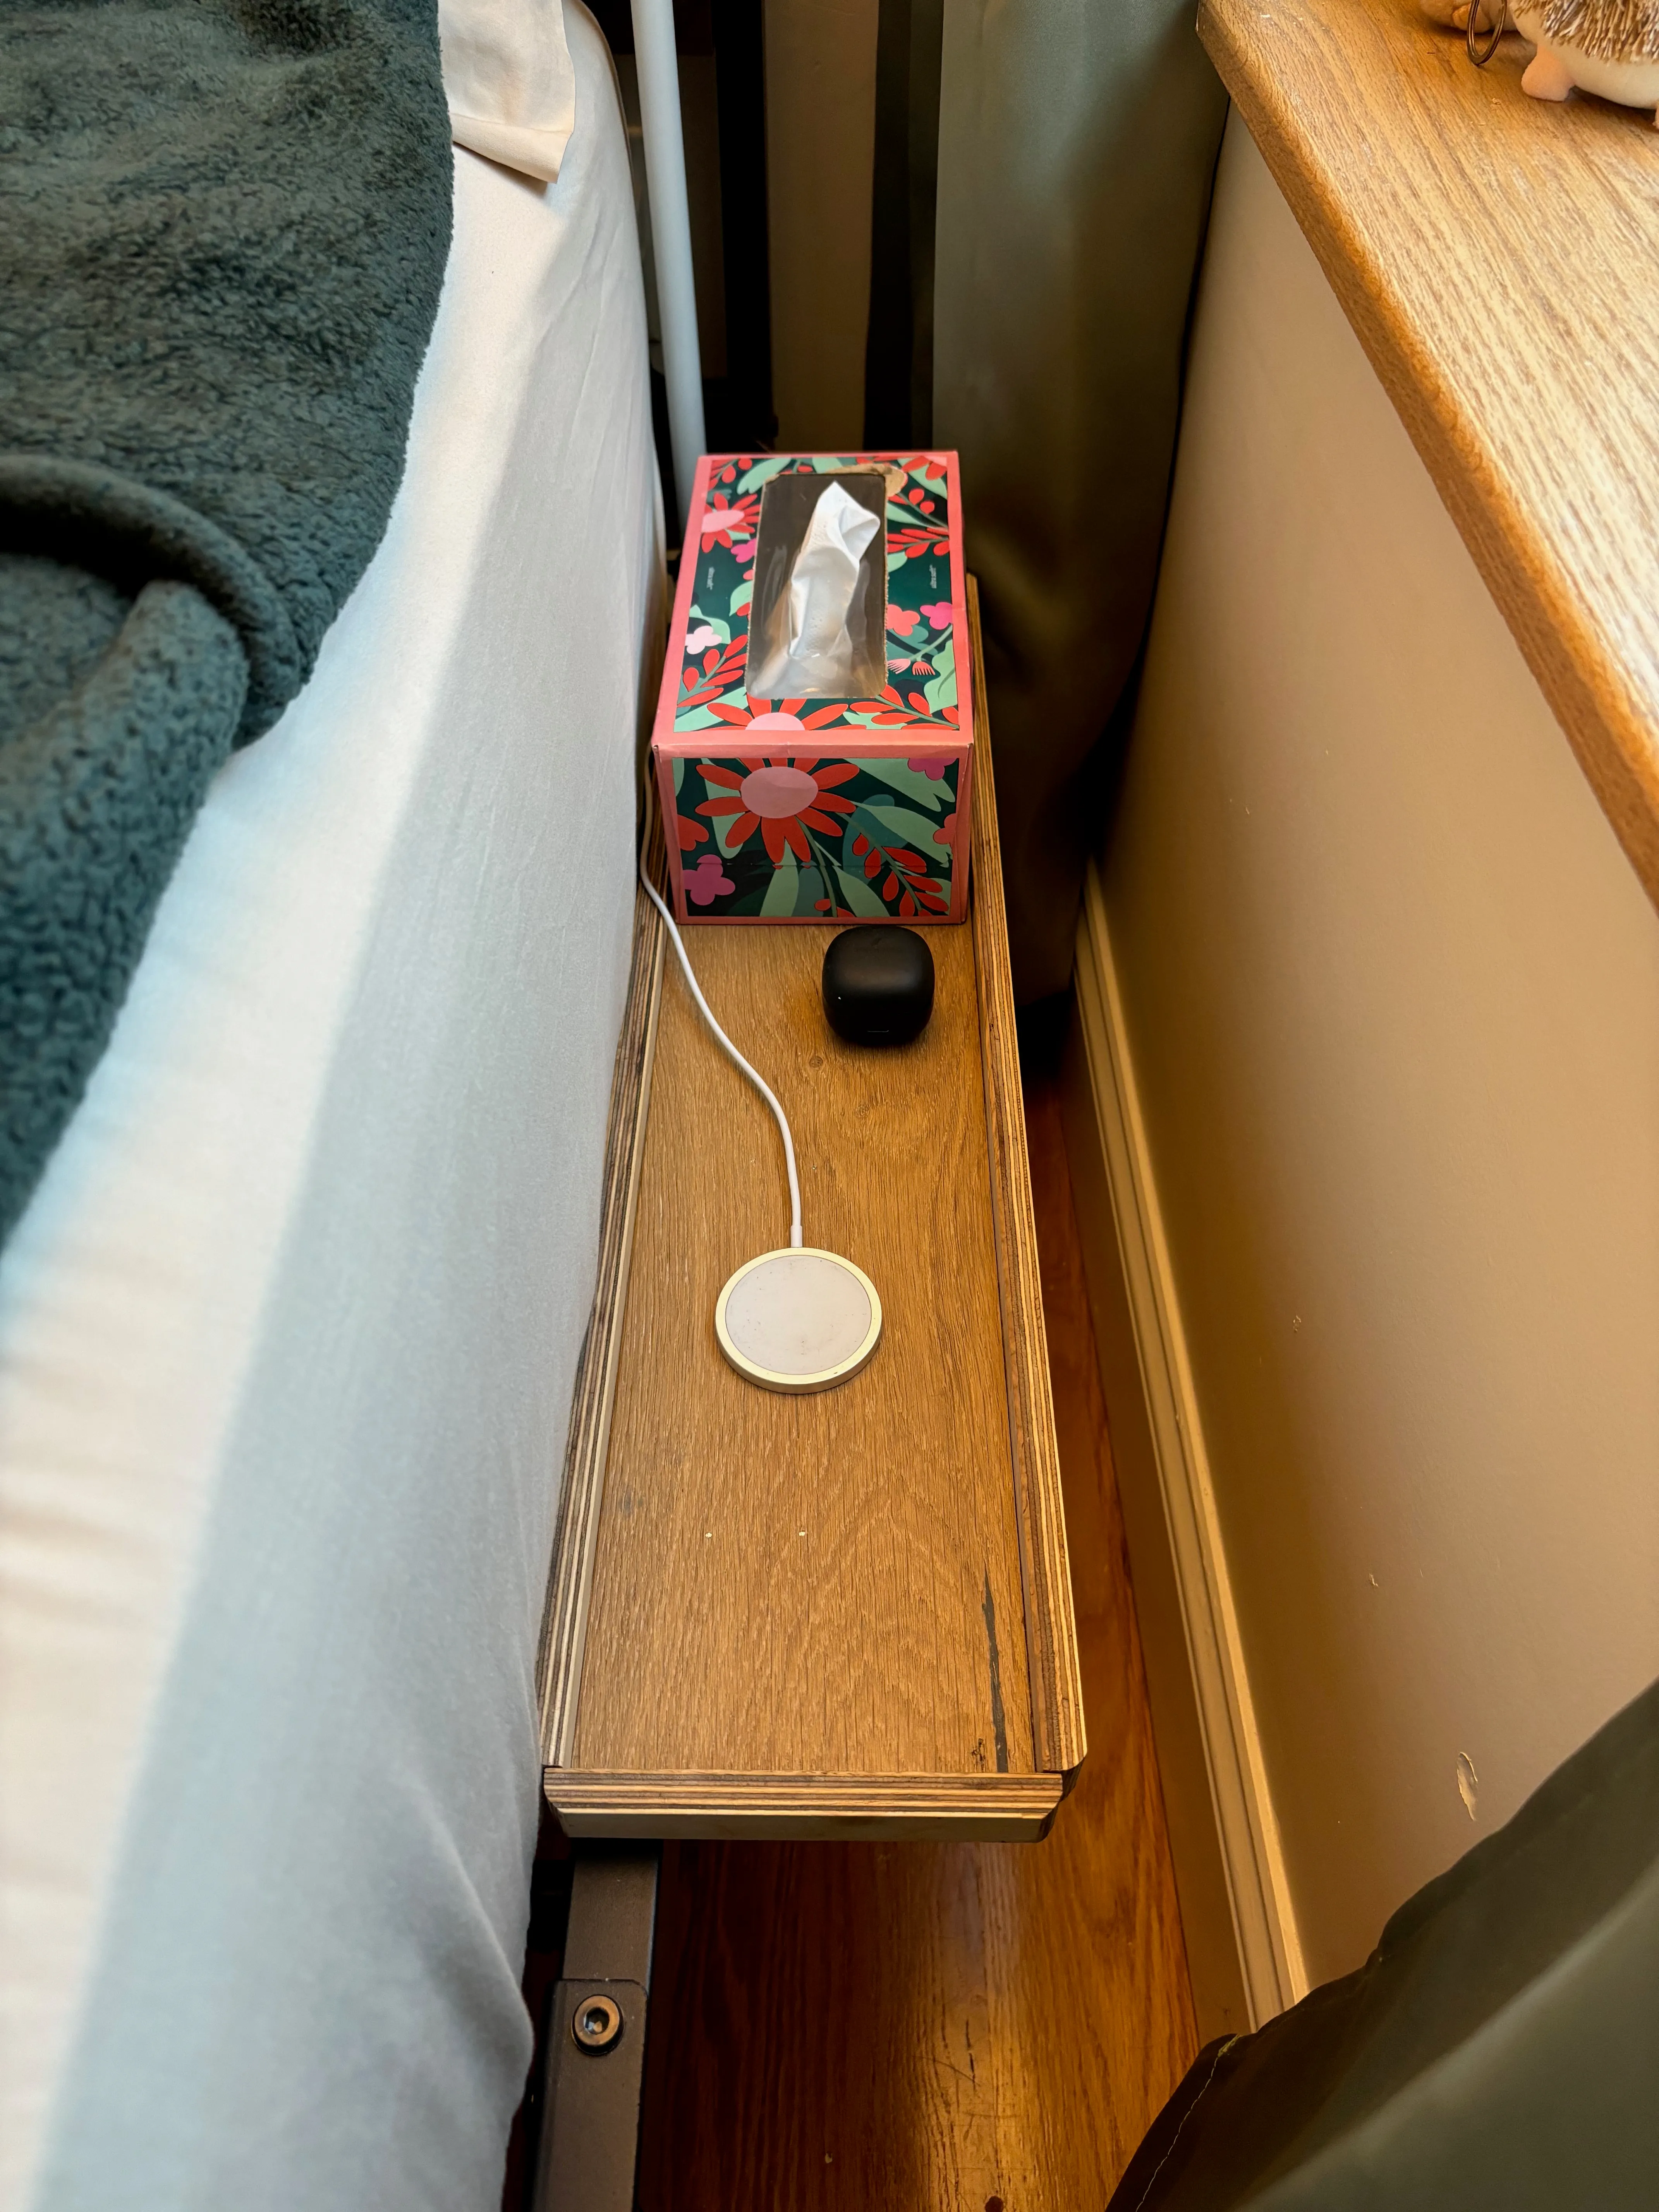
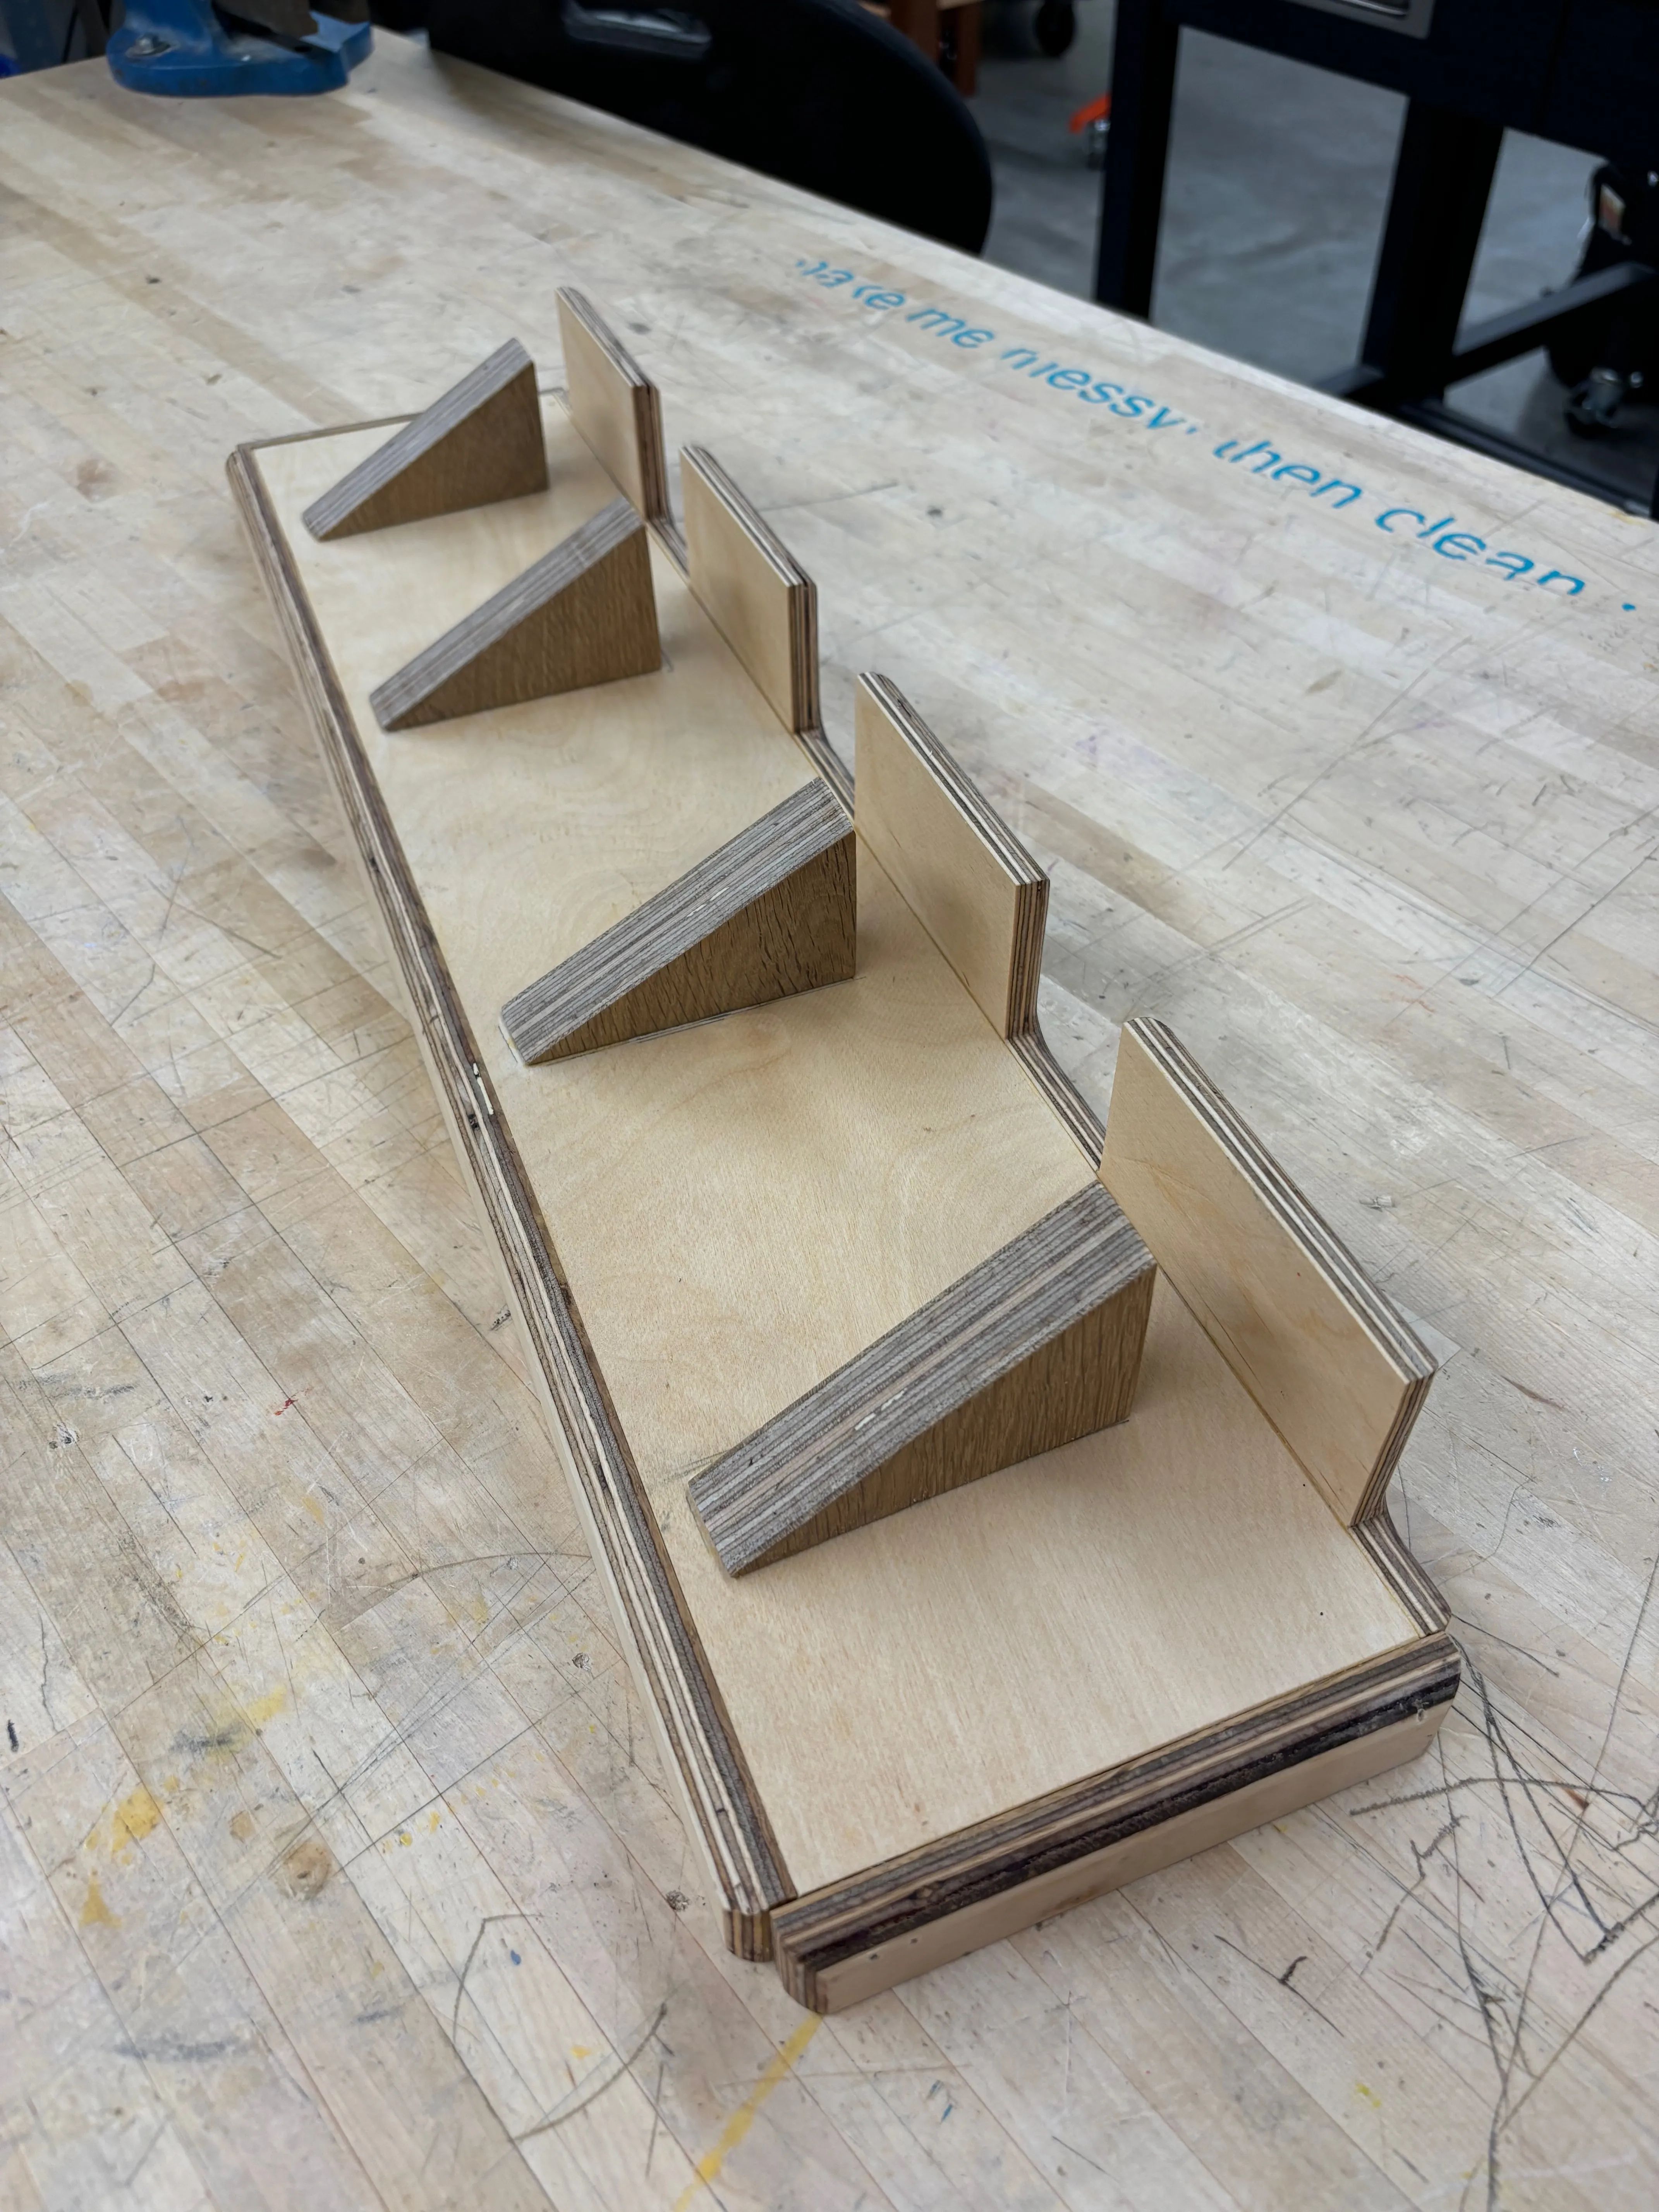
I decided to go with a simple shelf with lip to stop things from falling over the edge. Originally I thought I would include slots to strap my USB hub to the bottom of the shelf for even less clutter, but I decided against doing that to keep things simple. To secure the shelf to the bed frame, I made a comb like structure on one side that has cutouts for the slats that support the mattress, and triangles on the other side to support the cantilevered shelf.
Build
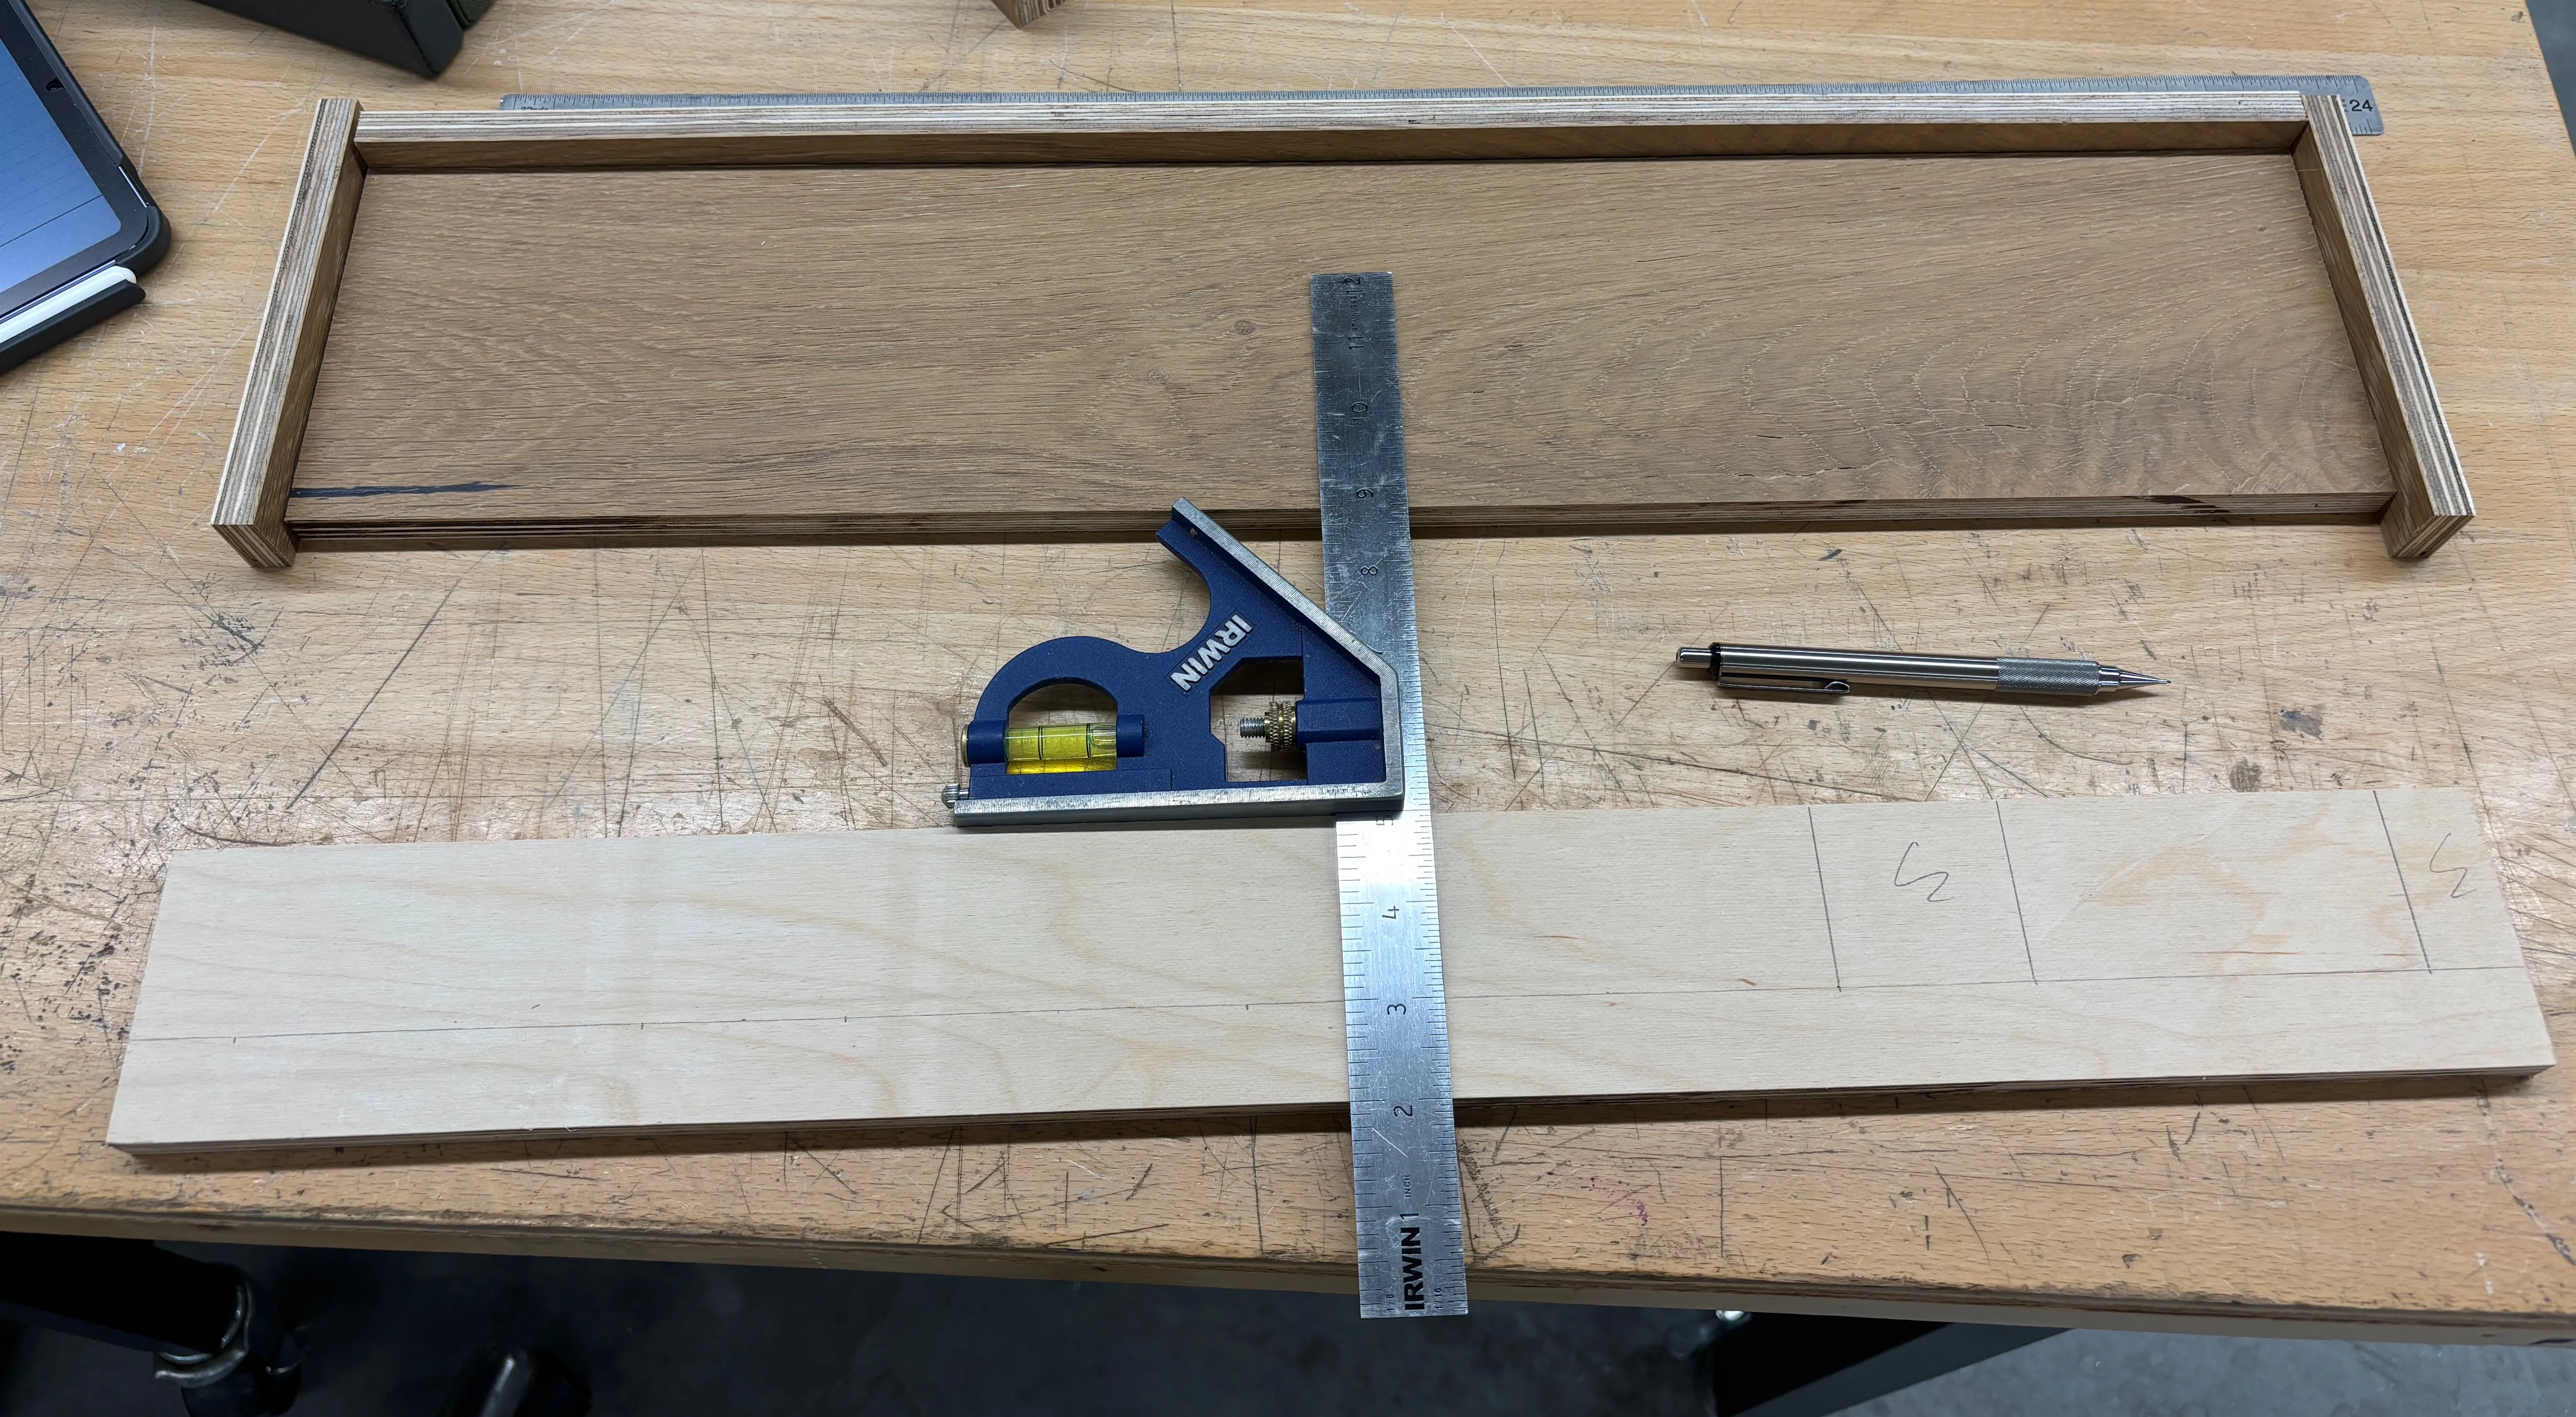
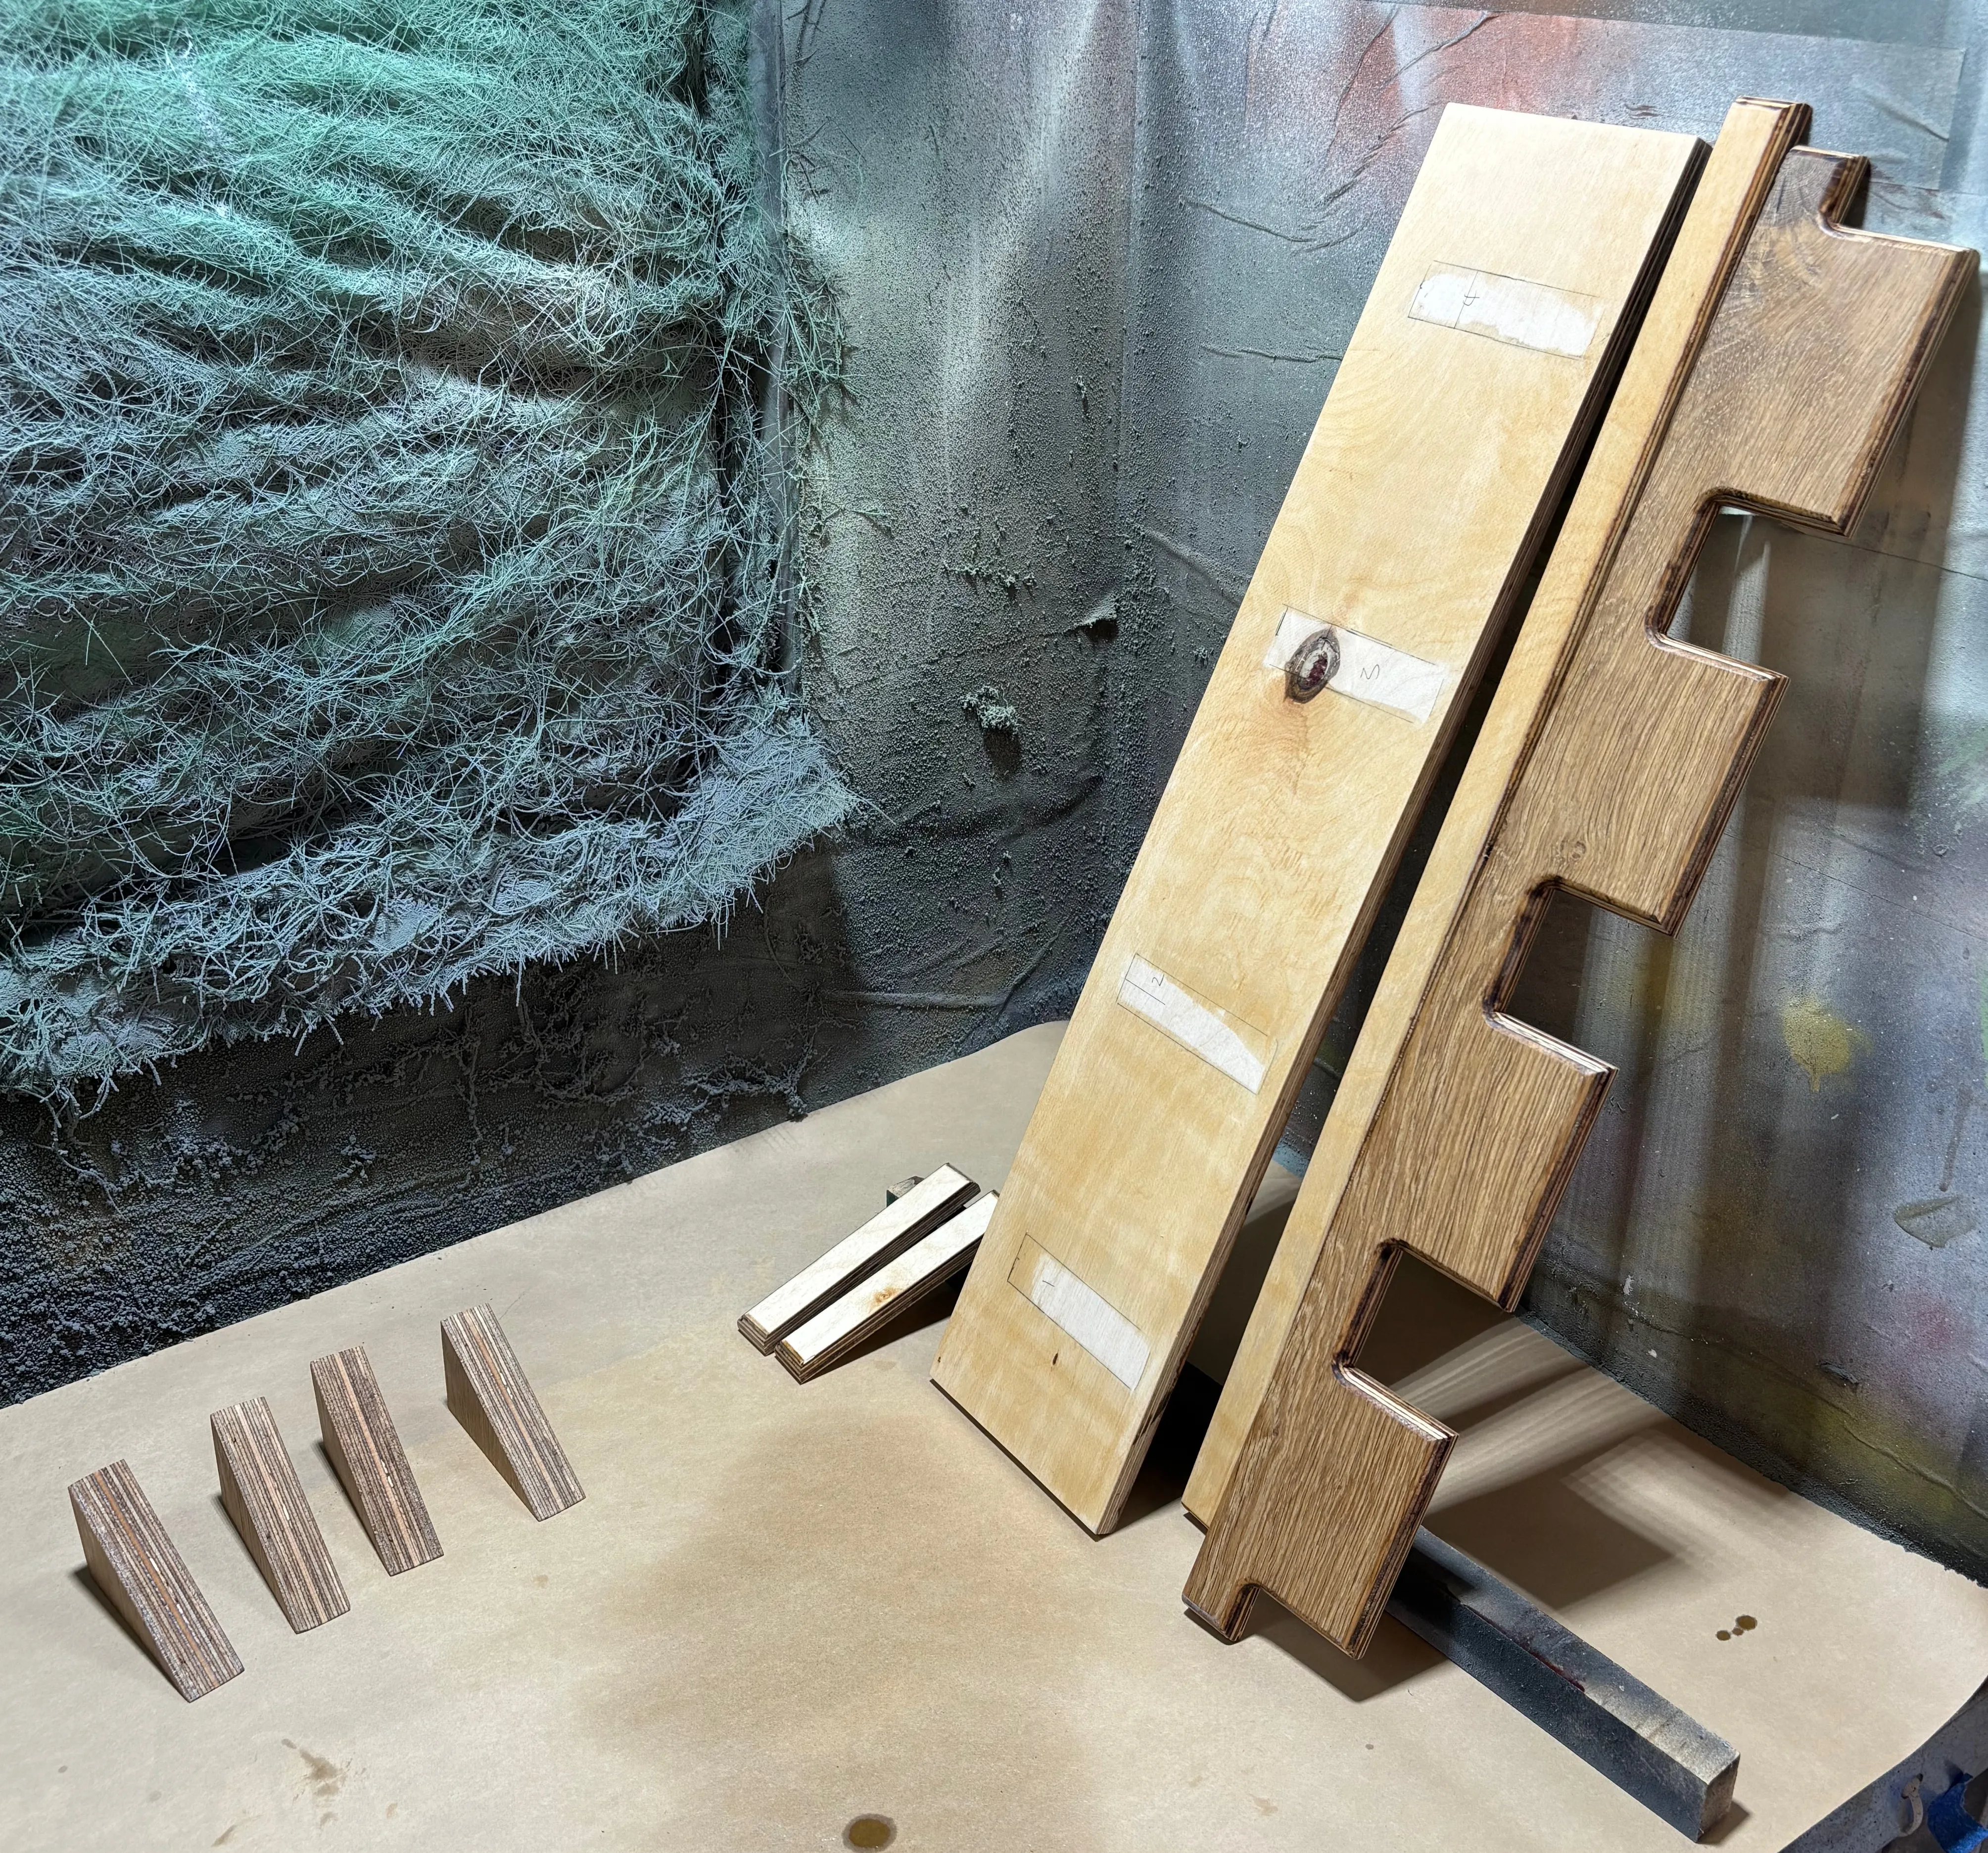
Many mistakes were made in the process of building this thing. First, I rounded over the wrong side of the comb piece, making the inside lip of the comb piece the lighter wood surface instead of the darker wood veneer like on the bottom and other three sides. Second, there were a bunch of burn marks from doing the routing too slowly. Third, I rounded the sides of the comb and long lip pieces wrongly so I couldn’t have a smooth round over across the whole corner like I originally intended. Forth, I wasn’t careful with the pin nailling and shot multiple nails through the top of the shelf. In the future for such thin pieces I might either just use clamps and glue or be more careful with the nail gun.
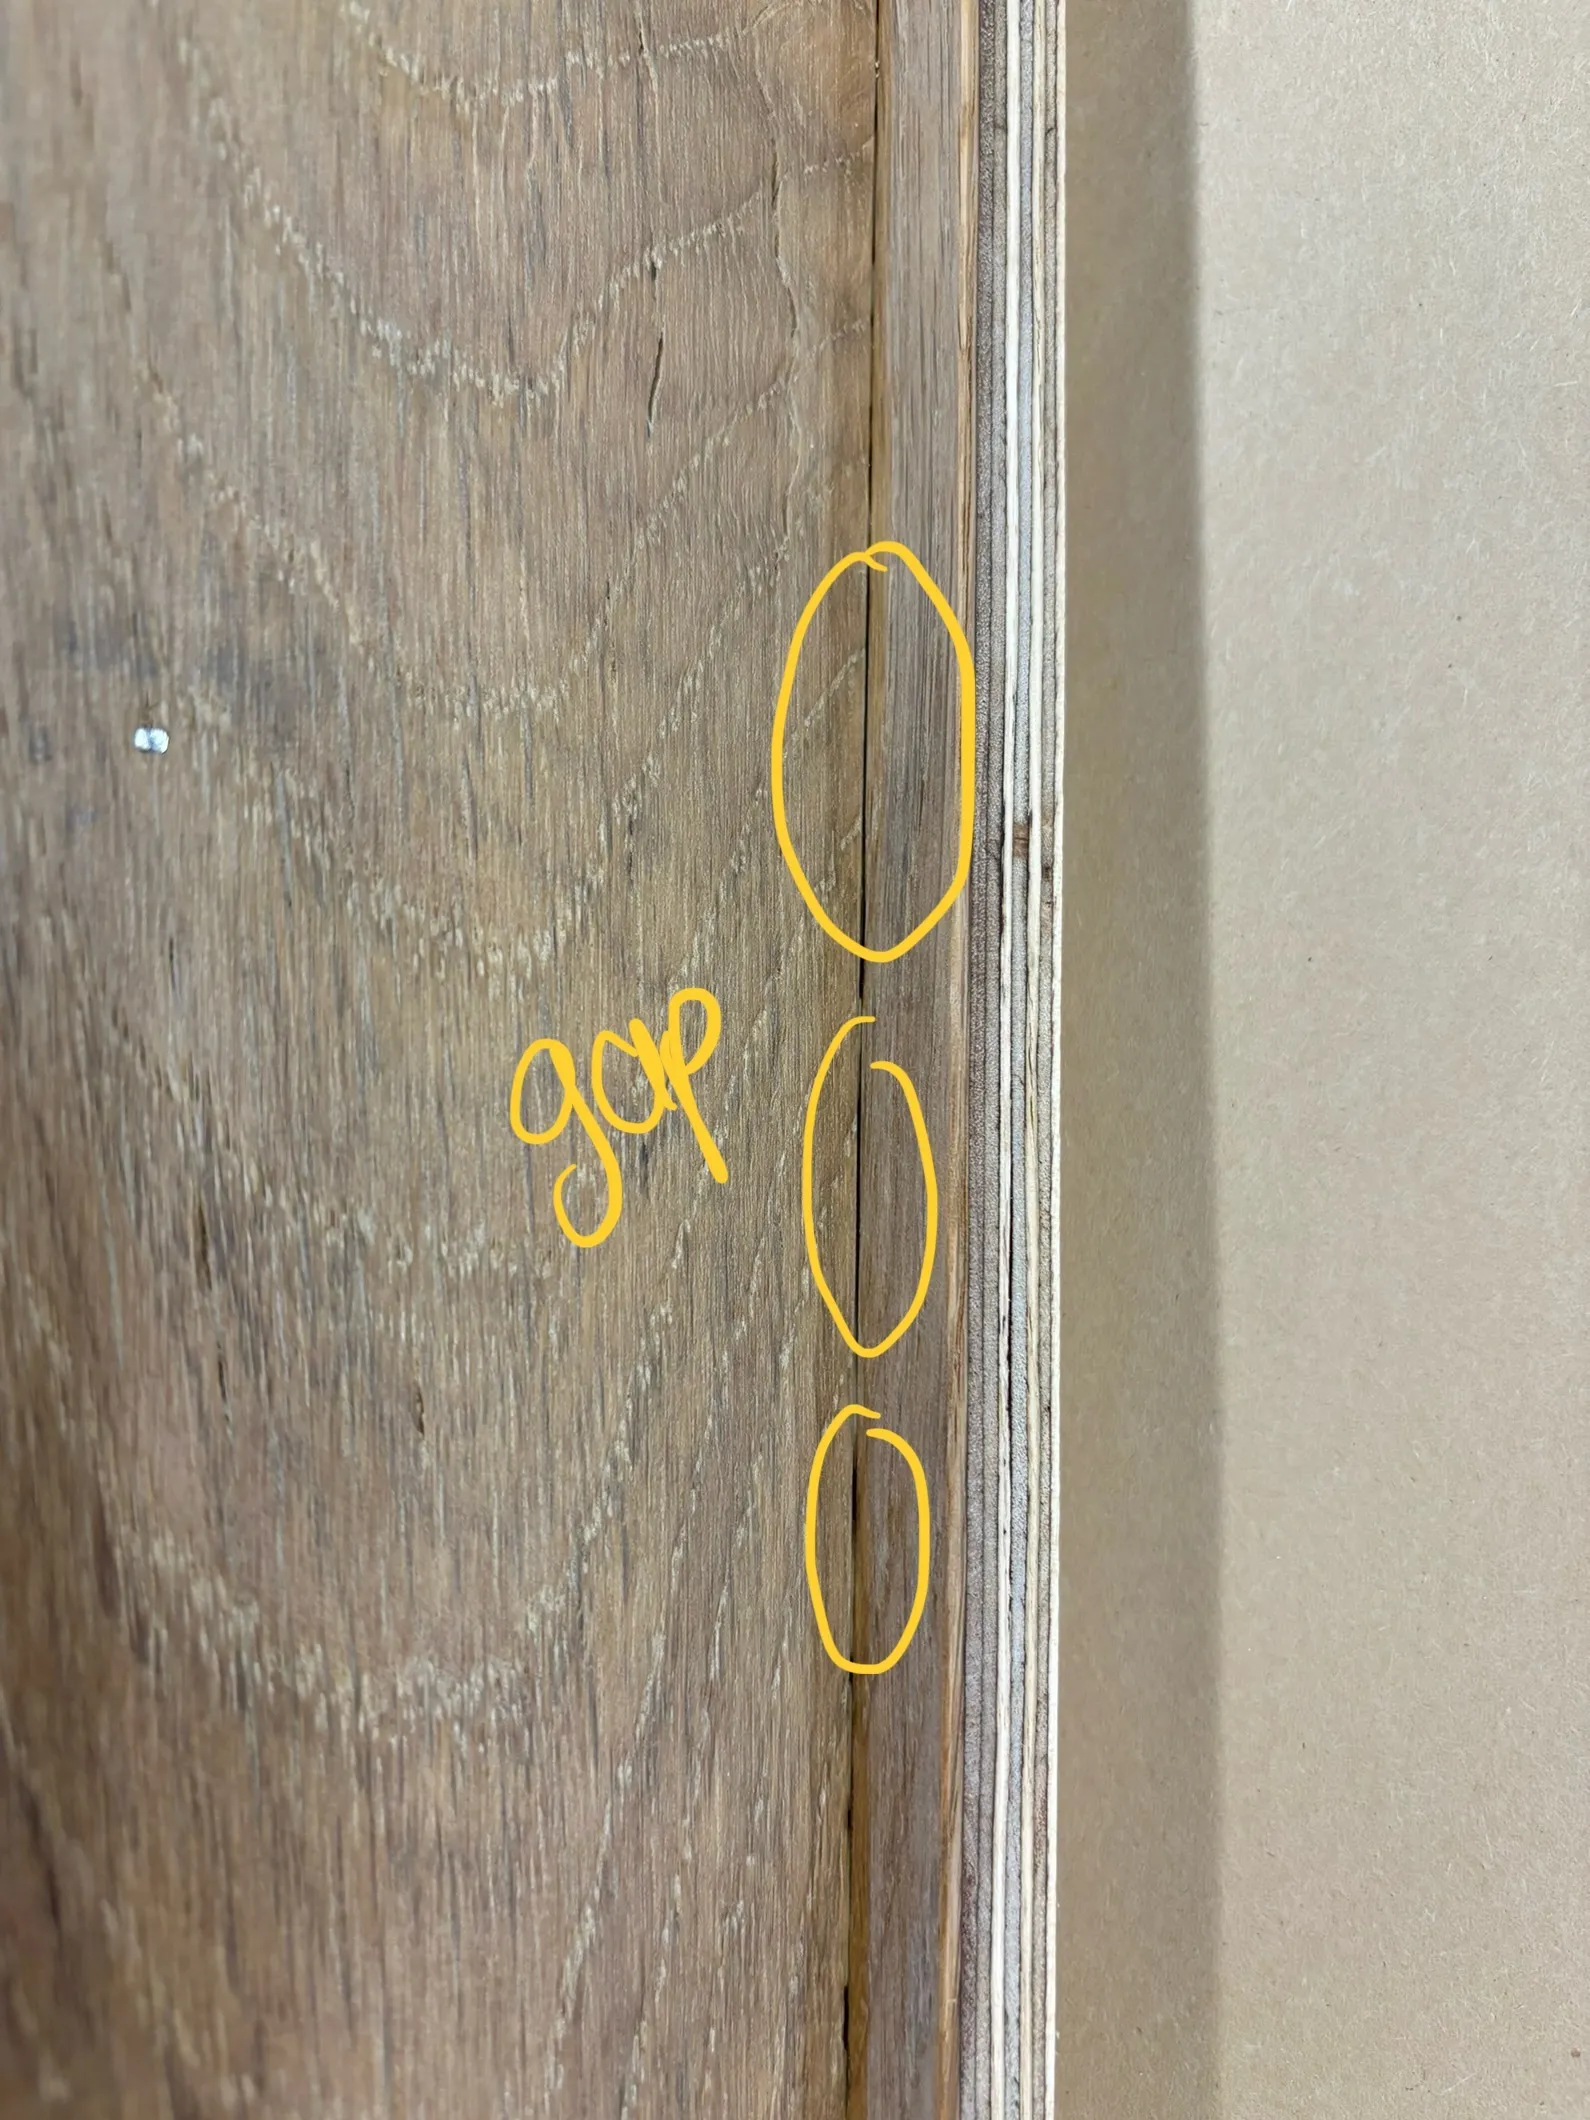
A higher level design mistake was just using butt joints between the comb, lips and shelf. I should have used rabbets/datos which would have eliminated the gaps that you can see in the picture above.

Final product
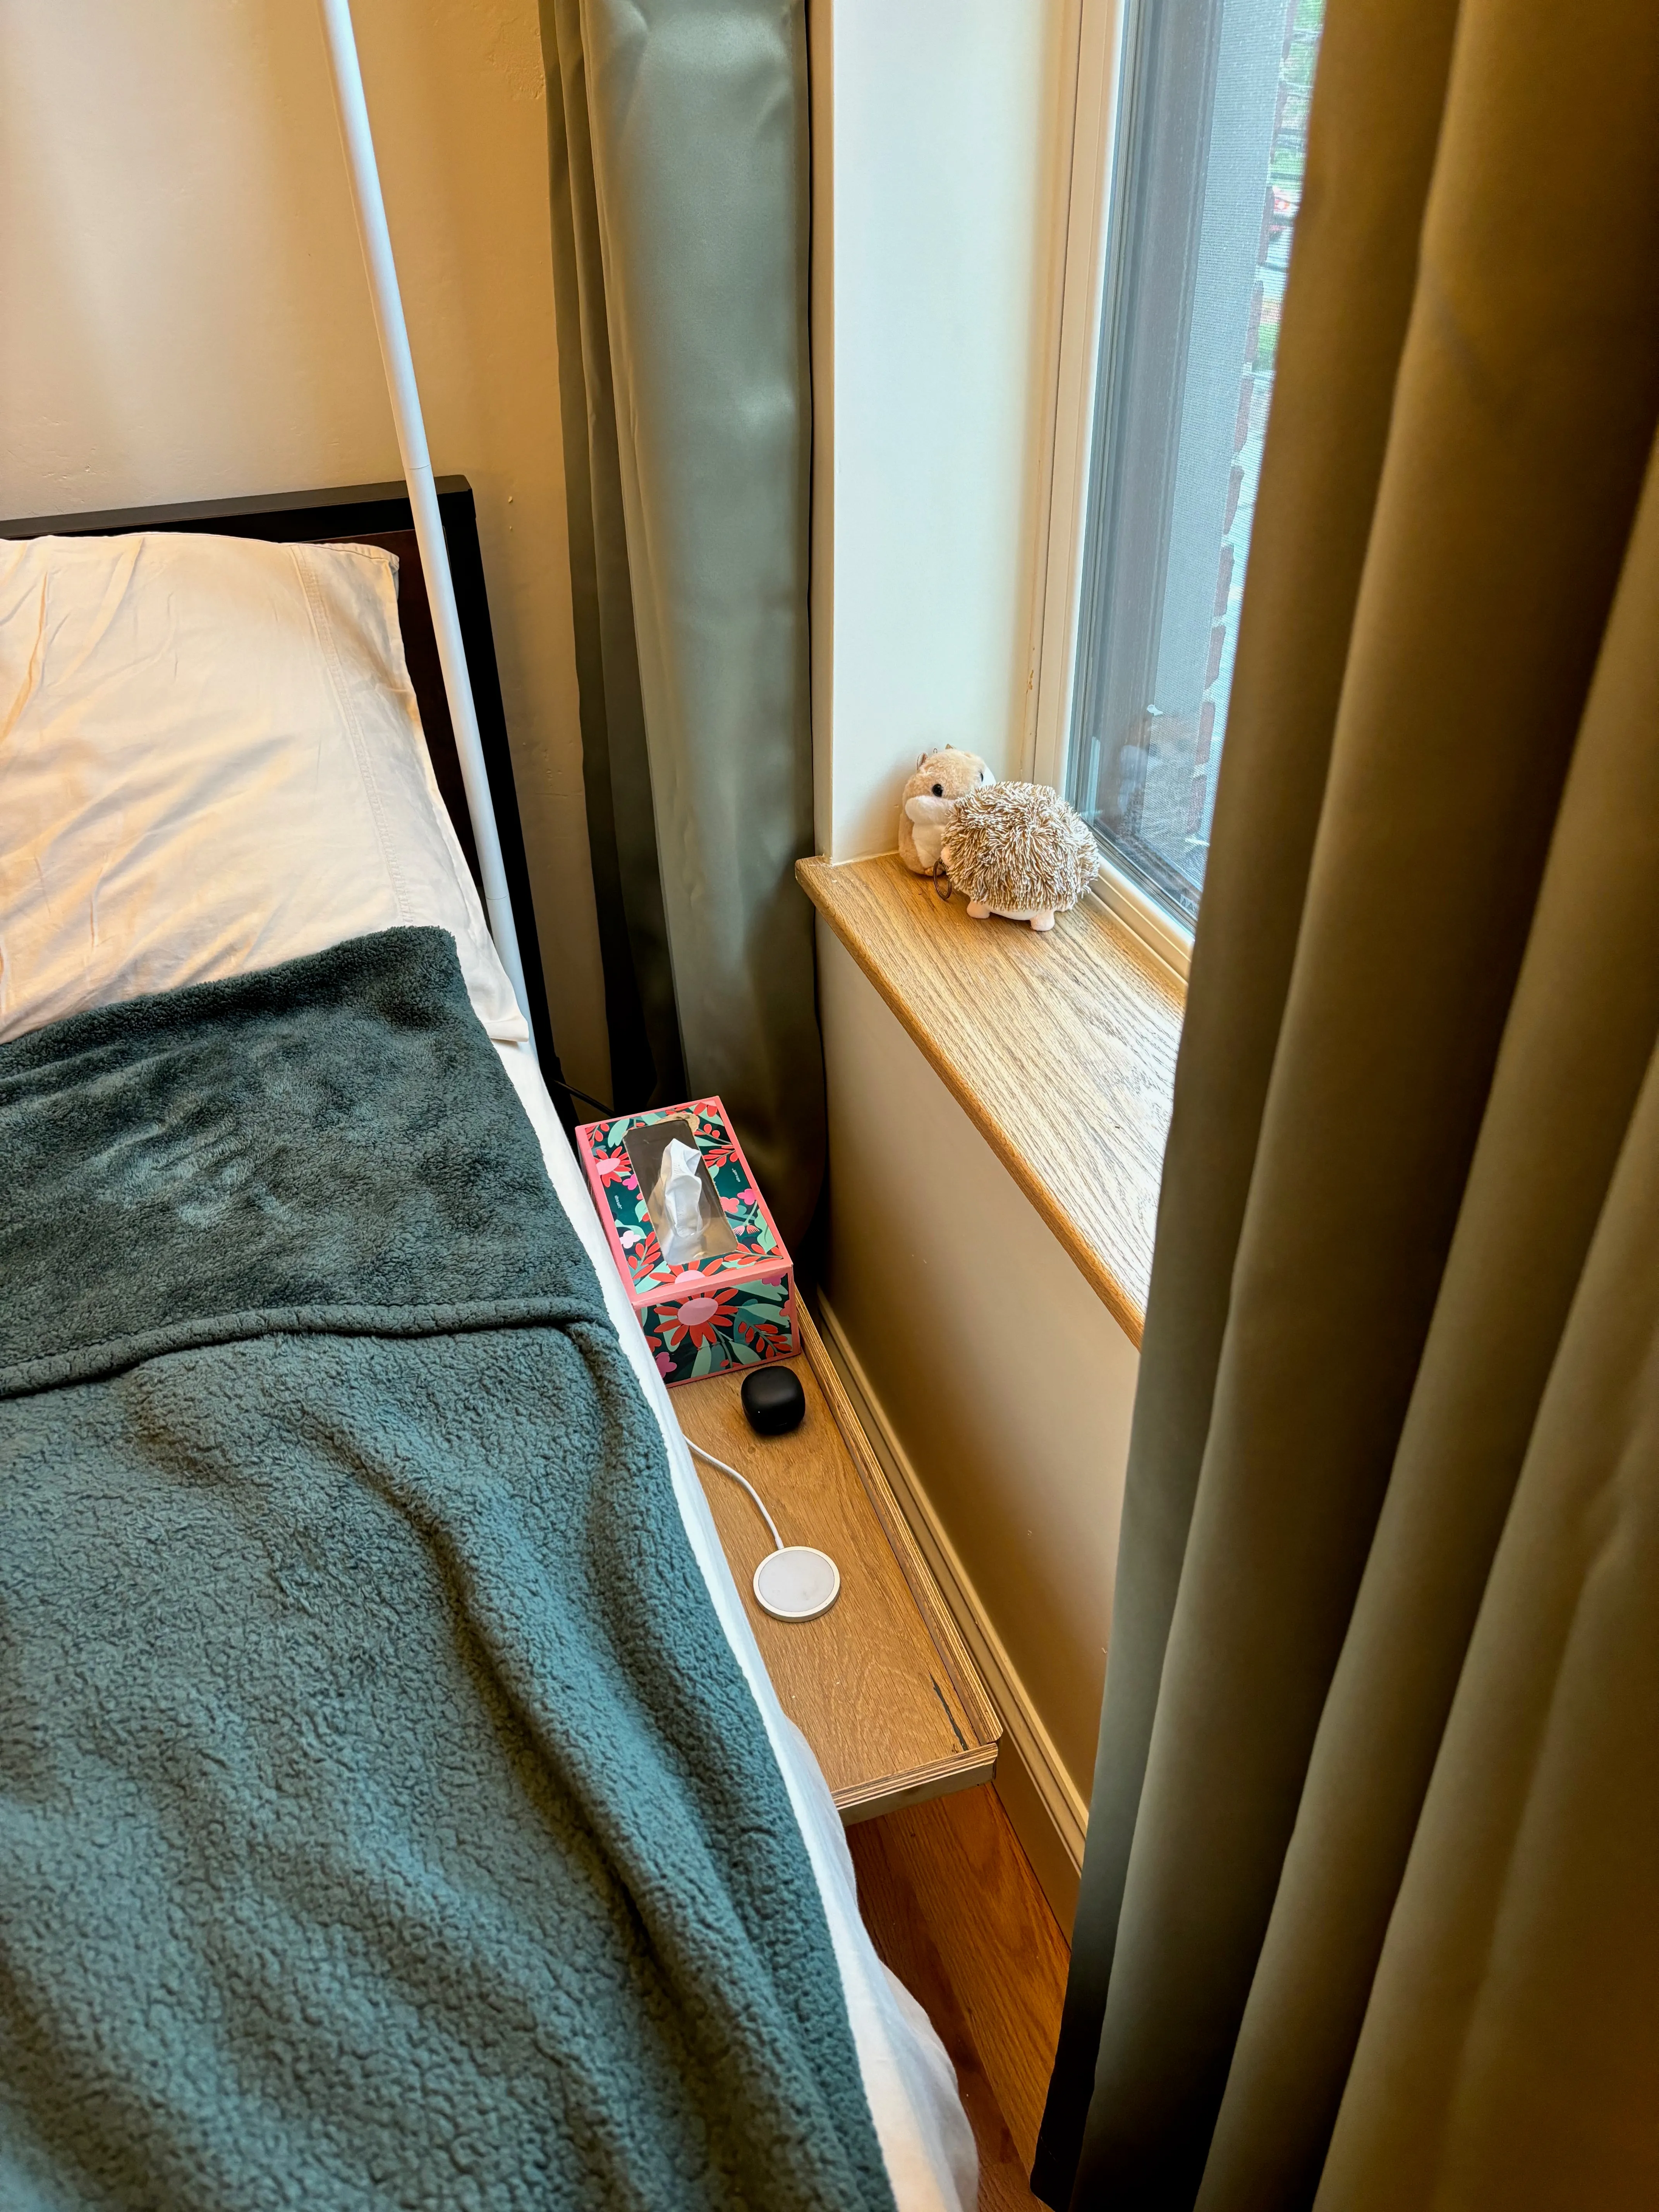
The shelf slides onto the bed frame super satisfyingly with a secure thunk. Very pleased with how that connection mechanism came out even though I wasn’t able to test the fit while I was building it.
The one last thing that I noticed after installing it was that sometimes I still hear threads from the curtain getting caught on little micro roughness-ess of the shelf. I think I could have sanded it smoother or applied some thicker wax or something to make it super ultra smooth, but I’m too lazy to do that now.
Overall very happy :)